
1
Open Syncro in the Neo dashboard
In the Neo dashboard, open Integrations, switch to the Directory tab, and select Syncro. The connect page walks you through the setup one step at a time, with a step rail on the left; returning users land on the filled form.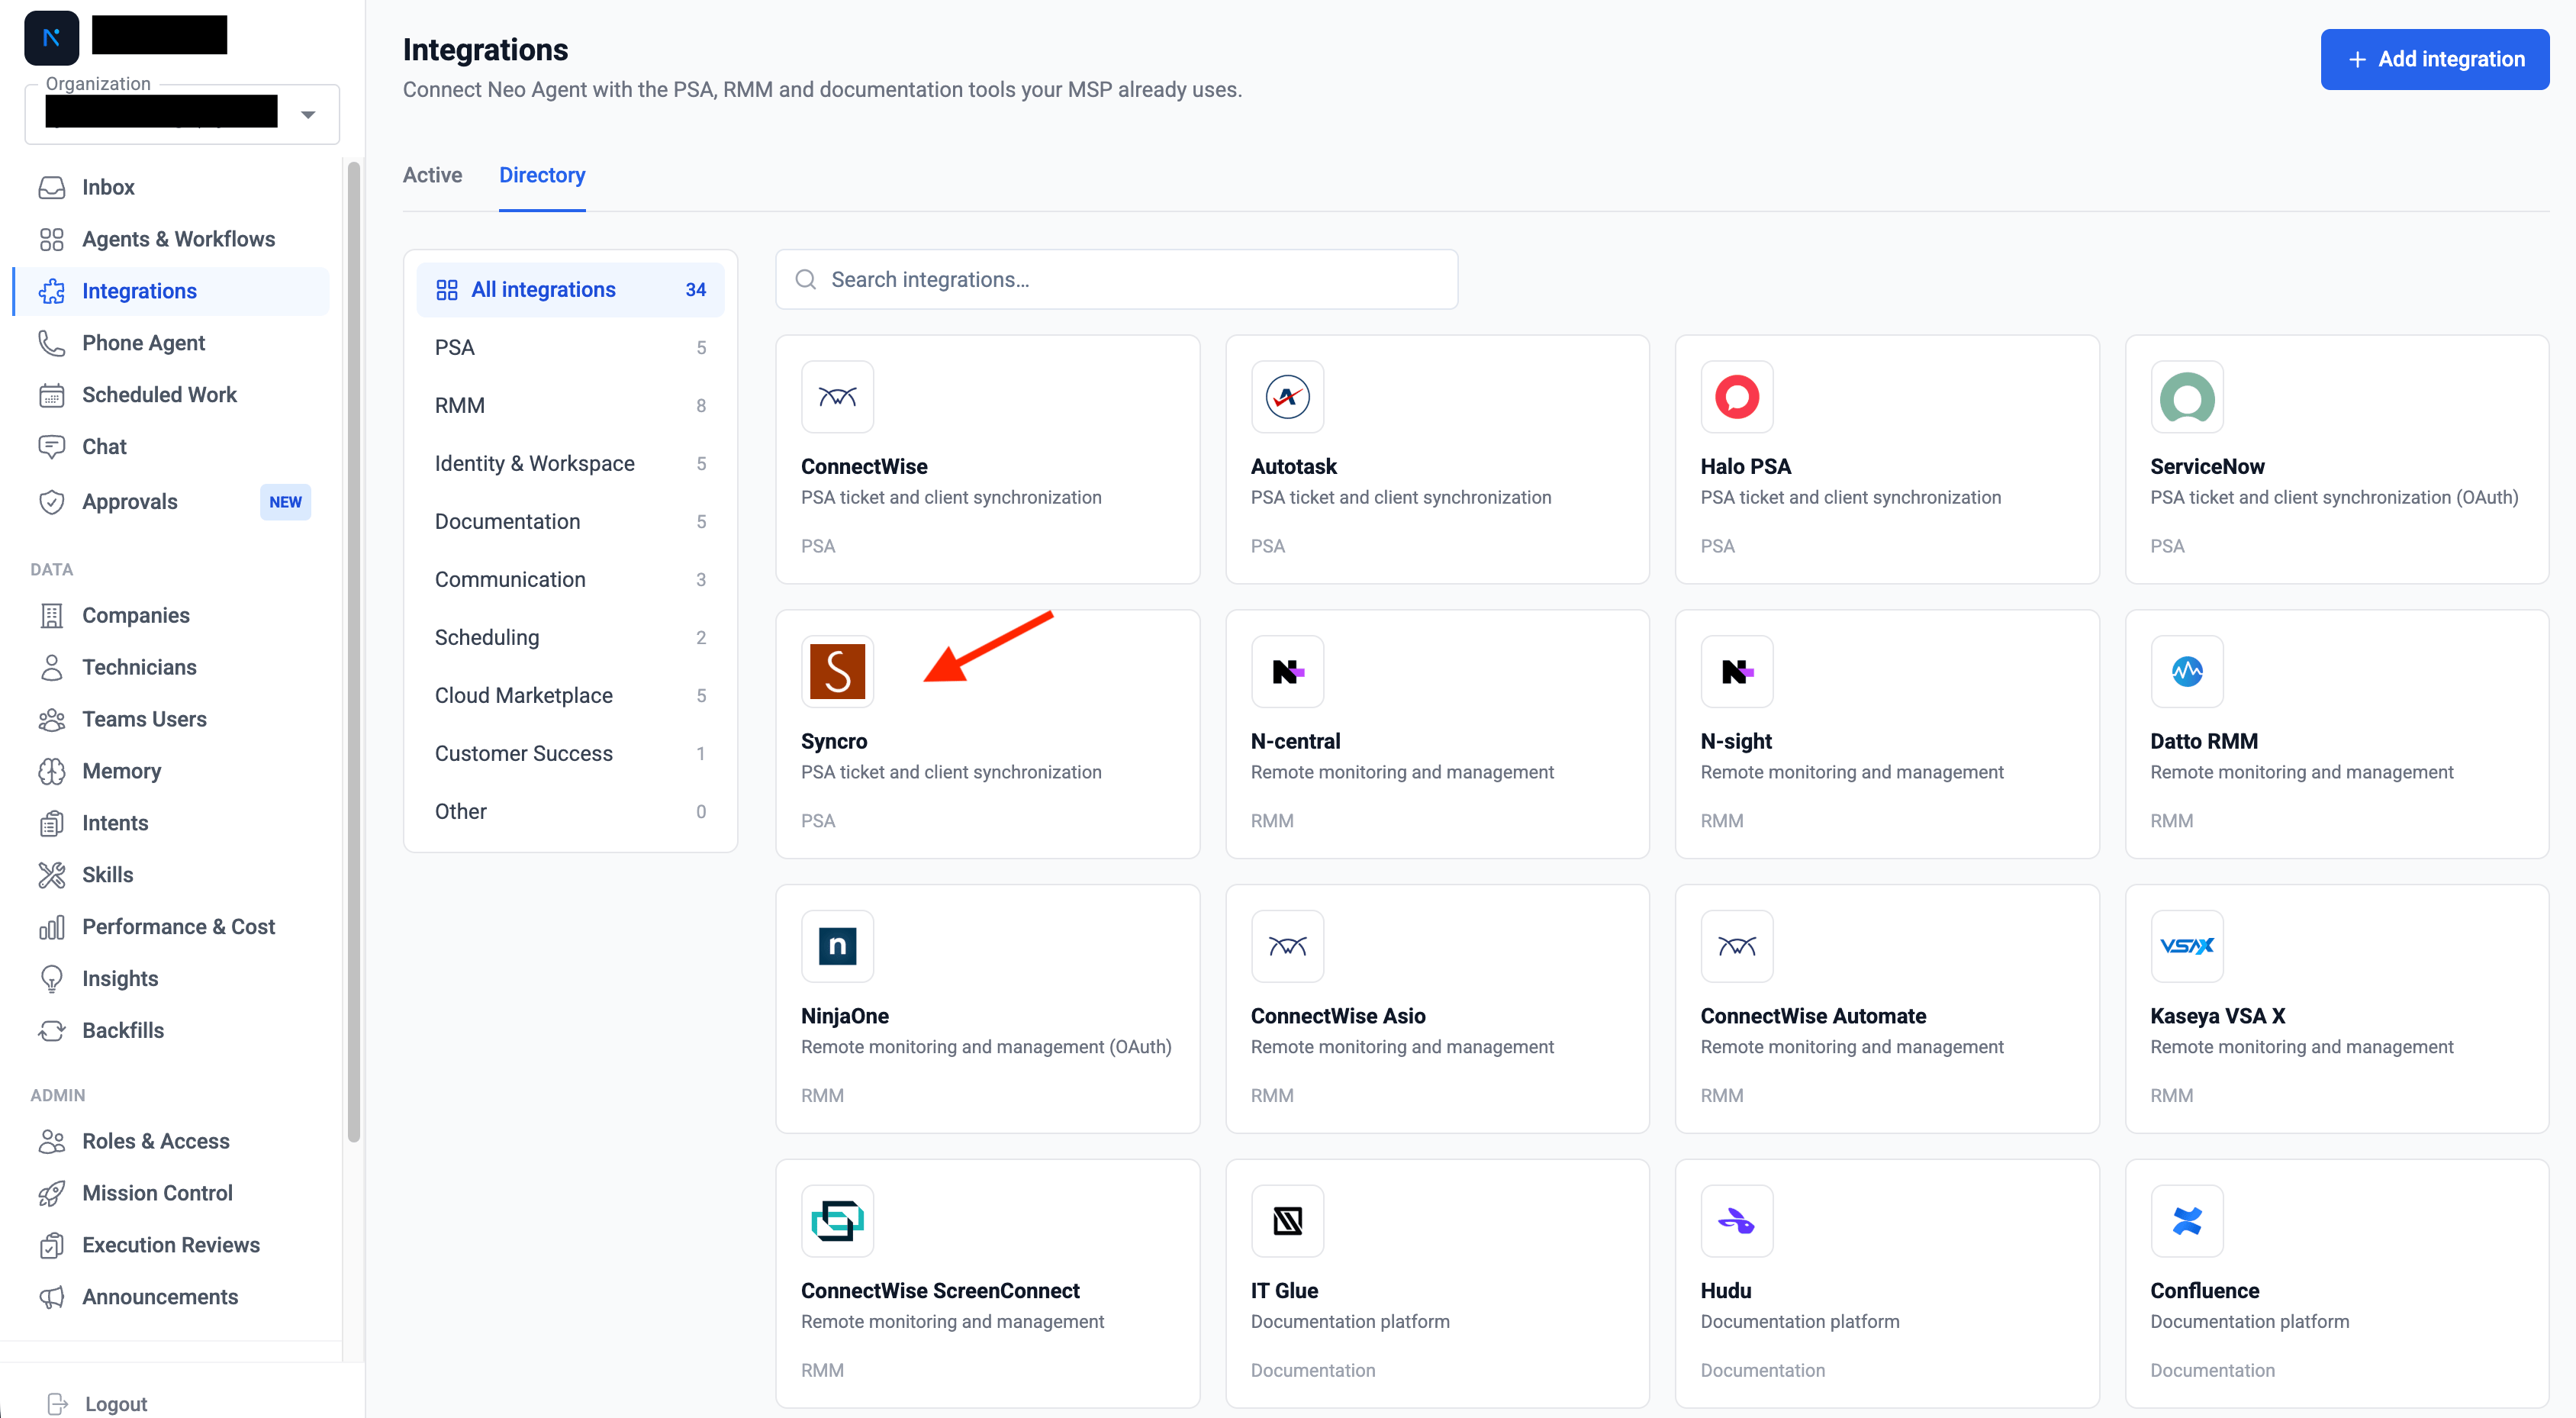
2
Enter your credentials
On the “Enter connection details” step, fill in the two fields: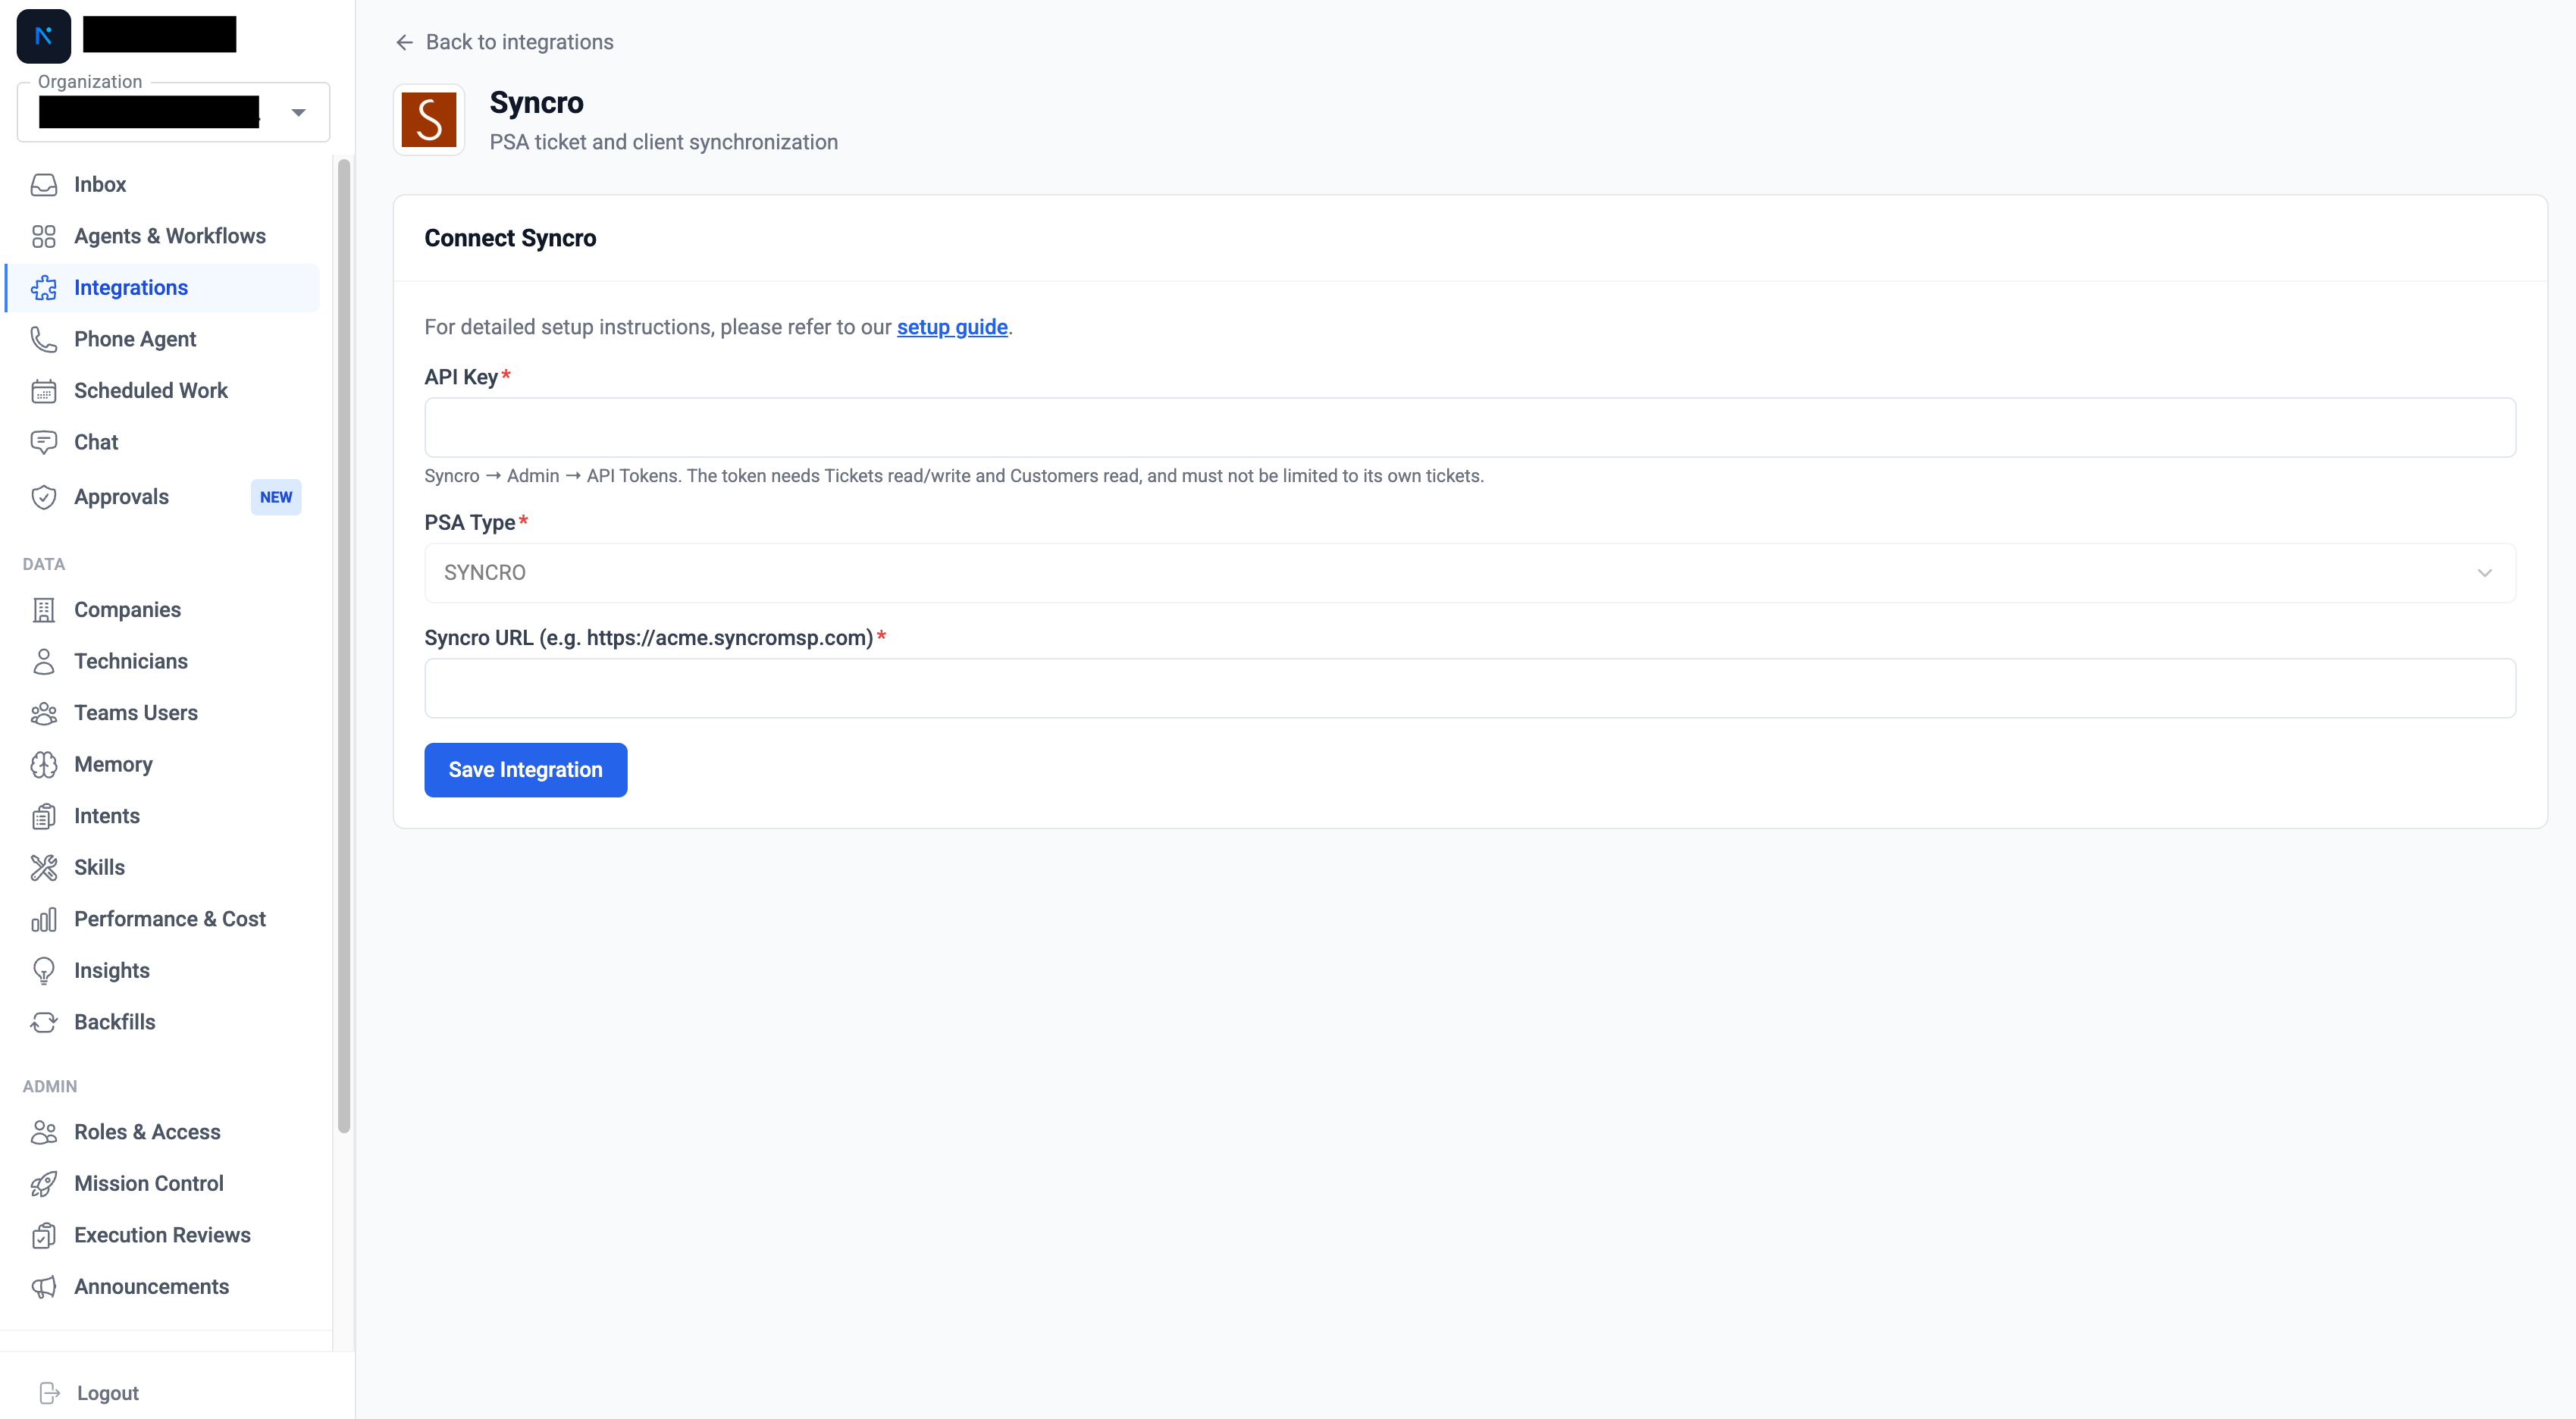
string
required
The Custom token you created in Syncro.
string
required
Exactly
https://<subdomain>.syncromsp.com.There is no username field. Syncro tokens identify their own user, so Neo reads that from Syncro and shows it as the connected account.
3
Watch the verification checks
After the save, Neo runs its verification checks one by one: authentication, the identity Neo acts as, ticket read access, write access, the webhook registration, and data sync. Each check reports as it completes.
All checks green means Neo can read and write tickets, receives ticket events, and has synced your data. A failed check names what to fix in Syncro, and you can run the checks again without re-entering the token.
4
Copy the webhook URL Neo shows you
When you click Continue after the checks, Neo opens the “One more step — connect Syncro webhooks” dialog, which contains your webhook URL. Copy it and paste it into a Syncro Notification Set. Configuring Webhooks is the full walkthrough.If you close the dialog, nothing is lost. The URL stays on the Syncro card in two places: click Setup guide to reopen the dialog, or open Advanced settings. It contains a credential, so only dashboard admins can see it.
Do this before you put the integration to work. Until the Notification Set exists, ticket events only reach Neo on the scheduled sync.
5
Confirm the first sync
Saving the integration starts the first sync, and the data-sync check above reflects it. The Syncro integration page shows the sync status, and Trigger sync starts one manually.The first sync pulls in your tickets, customers, contacts, ticket statuses and ticket types. Once it completes, your Syncro companies appear under Companies and your Syncro users under Technicians.
Troubleshooting
Changing the token later
Open the Syncro integration and click Edit. The API key is masked. Leave it as-is to keep the stored token, or paste a new one to replace it. Do this before the token’s expiry date if you set one.Next Steps
Configuring Webhooks
Point a Syncro Notification Set at Neo so ticket events arrive in real time.