What technicians use internal chat agents for
An Internal chat agent carries your full MSP toolbox, so builds span the whole service desk. Five patterns cover most of them:
A sixth thing technicians want — a self-service helper for your own Neo setup — you already have in the Neo Support Agent.
Create the agent
1
Create
Go to Chat → New Chat Agent (or create an agent in chat mode). There is no Triggers & Filters step — chat agents start when someone messages them.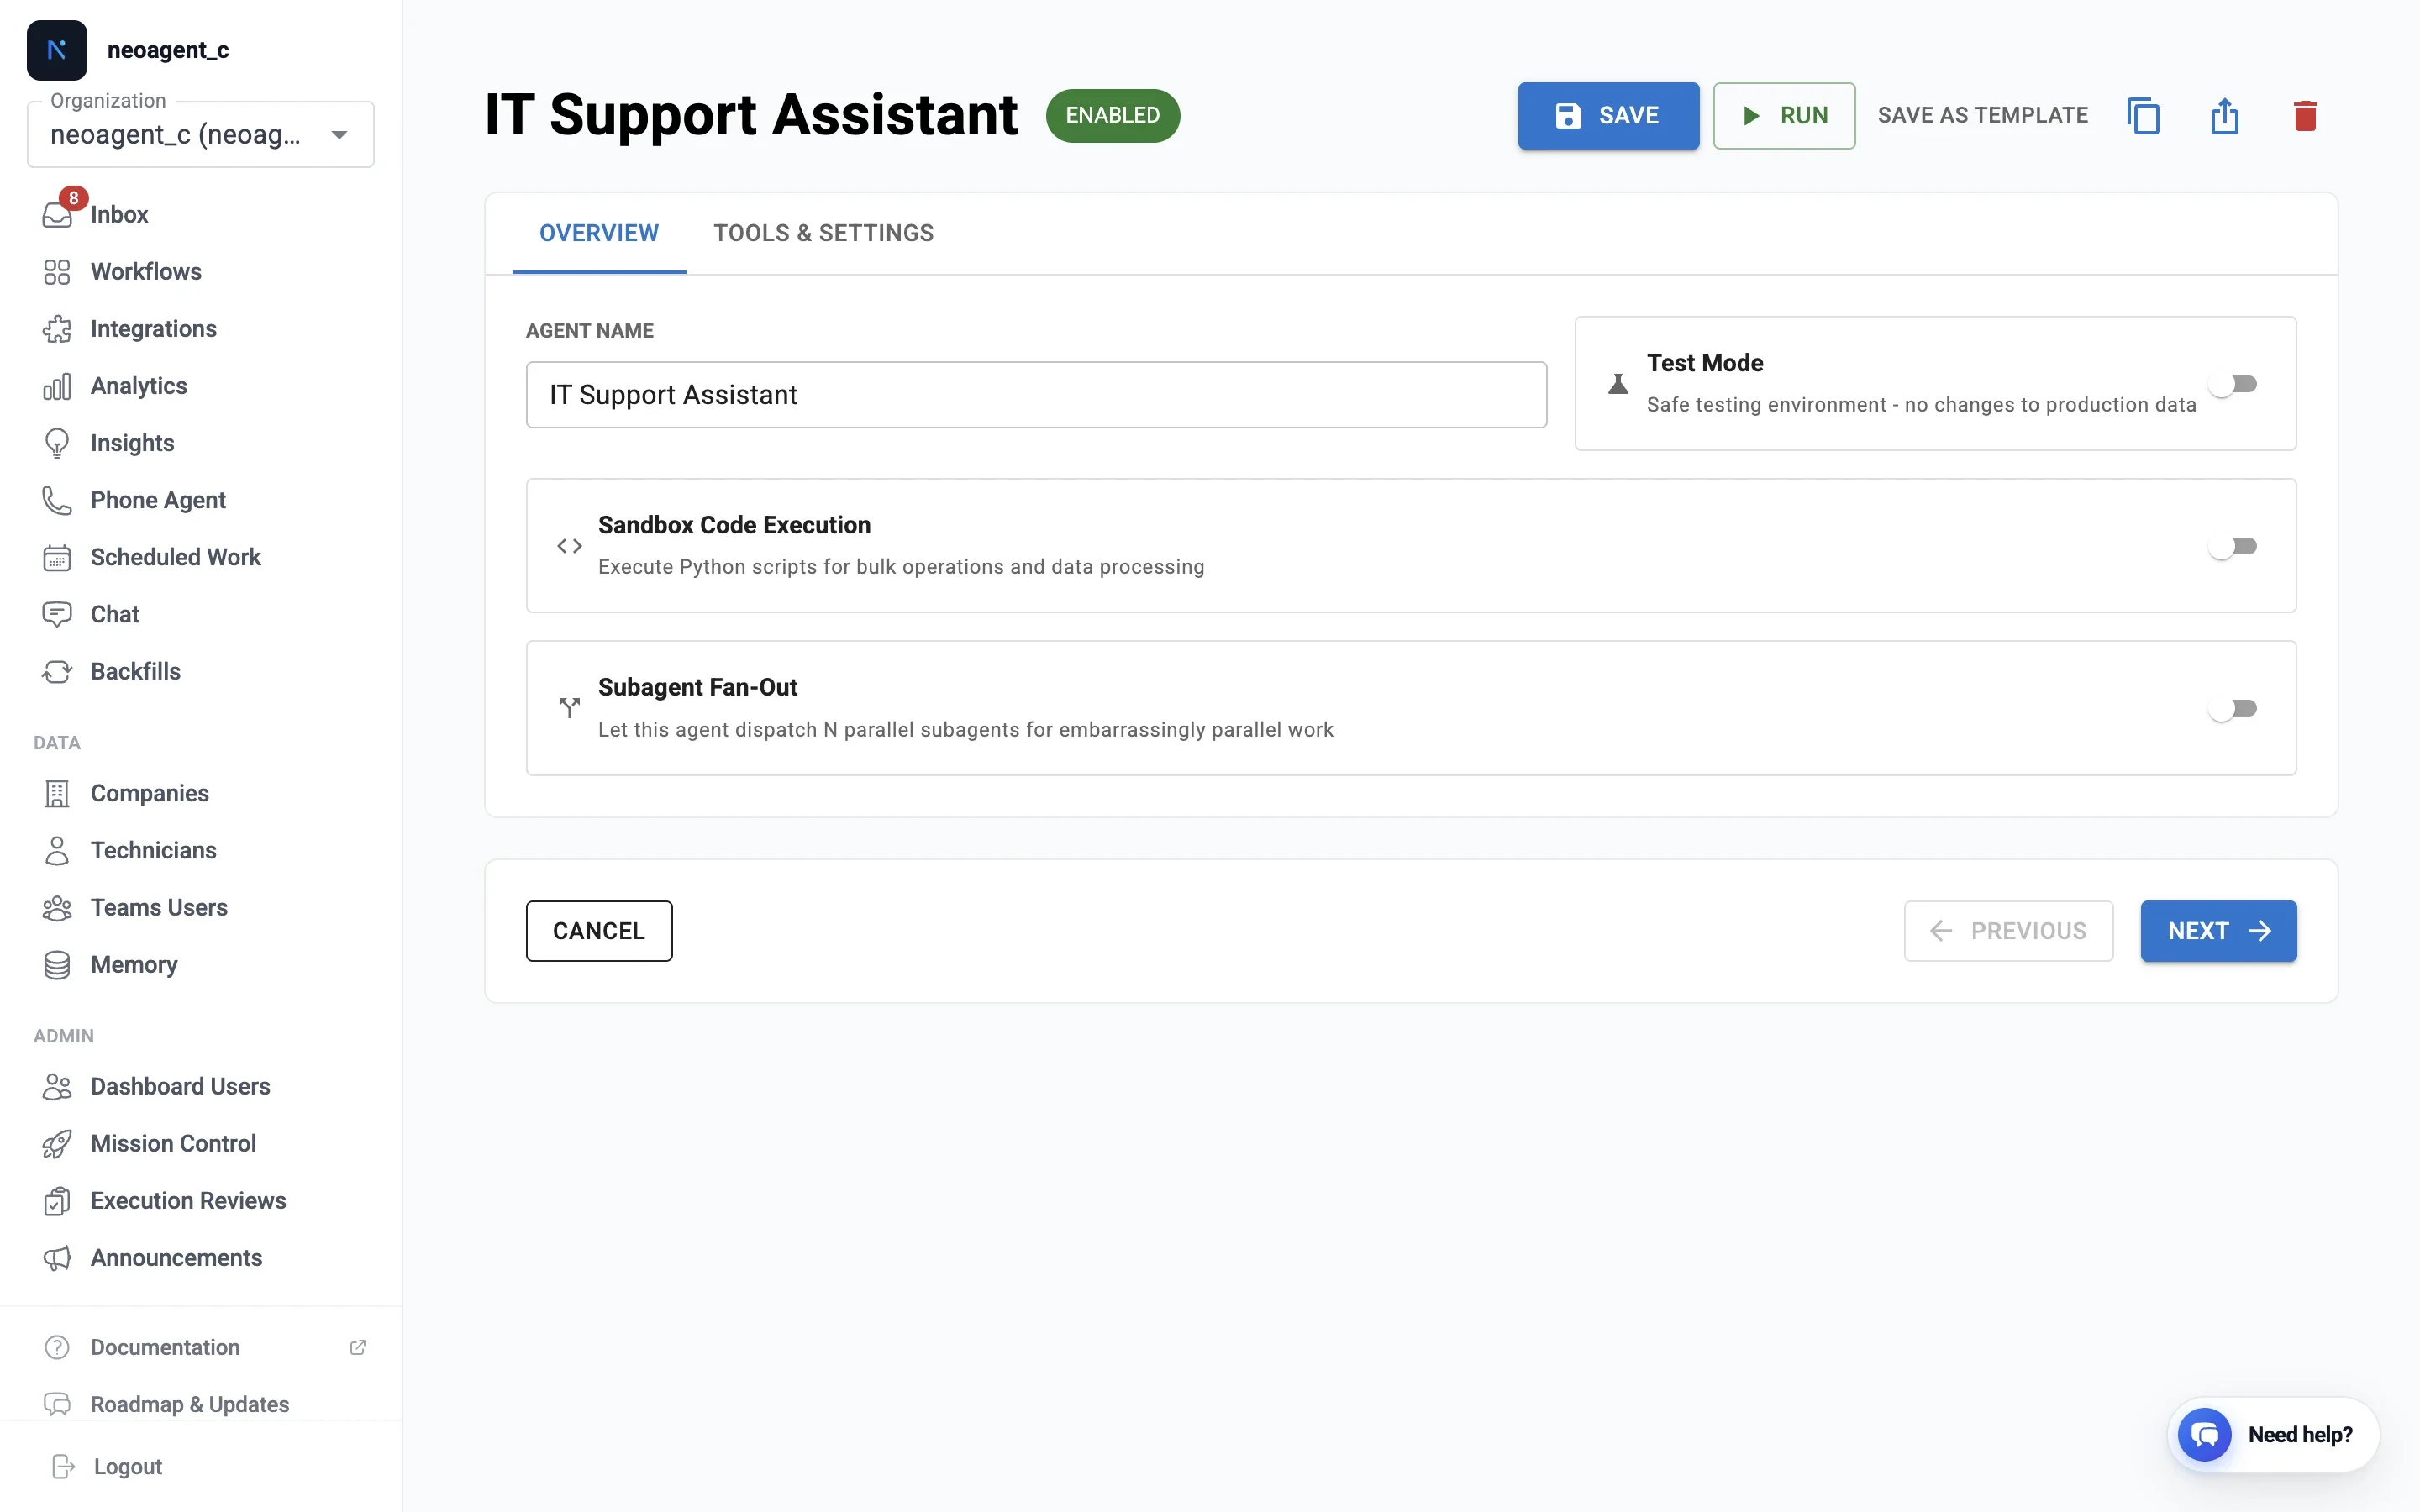
2
Set the audience
Pick the agent’s Audience — it’s fixed once set and shapes everything below:
- Internal — for your own technicians. Carries your full MSP toolbox (PSA, RMM, Microsoft 365, cross-company lookups). Runs in the dashboard, as a custom internal Teams bot, and is also what the Neo Support Agent is.
- End-user — for your clients’ employees. A deliberately narrow, company-scoped tool set, served through a branded end-user bot. See how end-user bots work.
3
Write instructions
Custom instructions define the agent’s job, tone, and limits. Be explicit about what it should refuse and when to ask a technician. If end users will talk to it, write for them — not for your technicians. See Writing effective agent instructions for the full guide.
4
Enable tools and permissions
Pick tools and set per-integration permissions exactly as for other agents. Enable the minimum the job needs — every enabled write permission is reachable from a chat message.
5
Test in the dashboard
Chat with it on the Chat page before exposing it anywhere. With test mode on, the agent describes side-effecting actions in its reply instead of performing them.
Settings that work differently in chat
Who can chat with the agent
By default every chat agent is open to your whole team. An admin can change who may message a specific agent from Roles & Access → Chat Agent Access:
Only admins can change this, and it controls messaging only — not who can see or edit the agent’s configuration. It applies to every internal chat agent, including the Neo Support Agent. Because the Neo Support Agent can act on your Neo setup, many teams set it to Admins only while leaving everyday helpers open to everyone. (End-user agents served through a channel are governed by that channel instead.)
Per-client instructions for end-user agents
If the agent serves end users through a channel, you can add Chat Instructions per client company (Companies → edit company). They’re injected when a user from that company is talking — use them for company-specific policies, escalation contacts, or tone.Before going live
- Require Technician-in-the-Loop on write permissions.
- For end-user-facing agents, prefer read-only permissions plus “create a ticket” over direct writes.
- Test the agent as an end-client at a chosen company before you roll the bot out — you’ll see its per-company instructions and end-user tools exactly as that company’s users will, without installing anything.
- Share a read-only preview with the client before rollout — a public, no-login link that shows what the assistant does, with sensitive values masked.