Audience: who the channel serves
Every channel has an Audience, which must match its agent’s:- Internal — a bot for your own technicians, installed into your own Microsoft 365 tenant and running with the full MSP toolbox you give the agent (it can work across all your companies). Deploy it with the custom internal bot guide.
- End-user — a white-label bot for your clients’ employees, installed into each client’s Microsoft 365 tenant and scoped to one company per conversation. Deploy it with the end-user bot guide.
How it fits together
- Internal — the user is one of your technicians, in your own tenant. The agent runs with your full MSP toolbox, across your whole client base.
- End-user — the user’s company is recognized automatically from the Microsoft 365 tenant their message comes from, via the tenant ID on the Company record, and every conversation is scoped to that company with a narrower toolbox (per-company instructions apply; the why and how: how end-user bots work).
Managing channels
Chat → Channels → New Channel.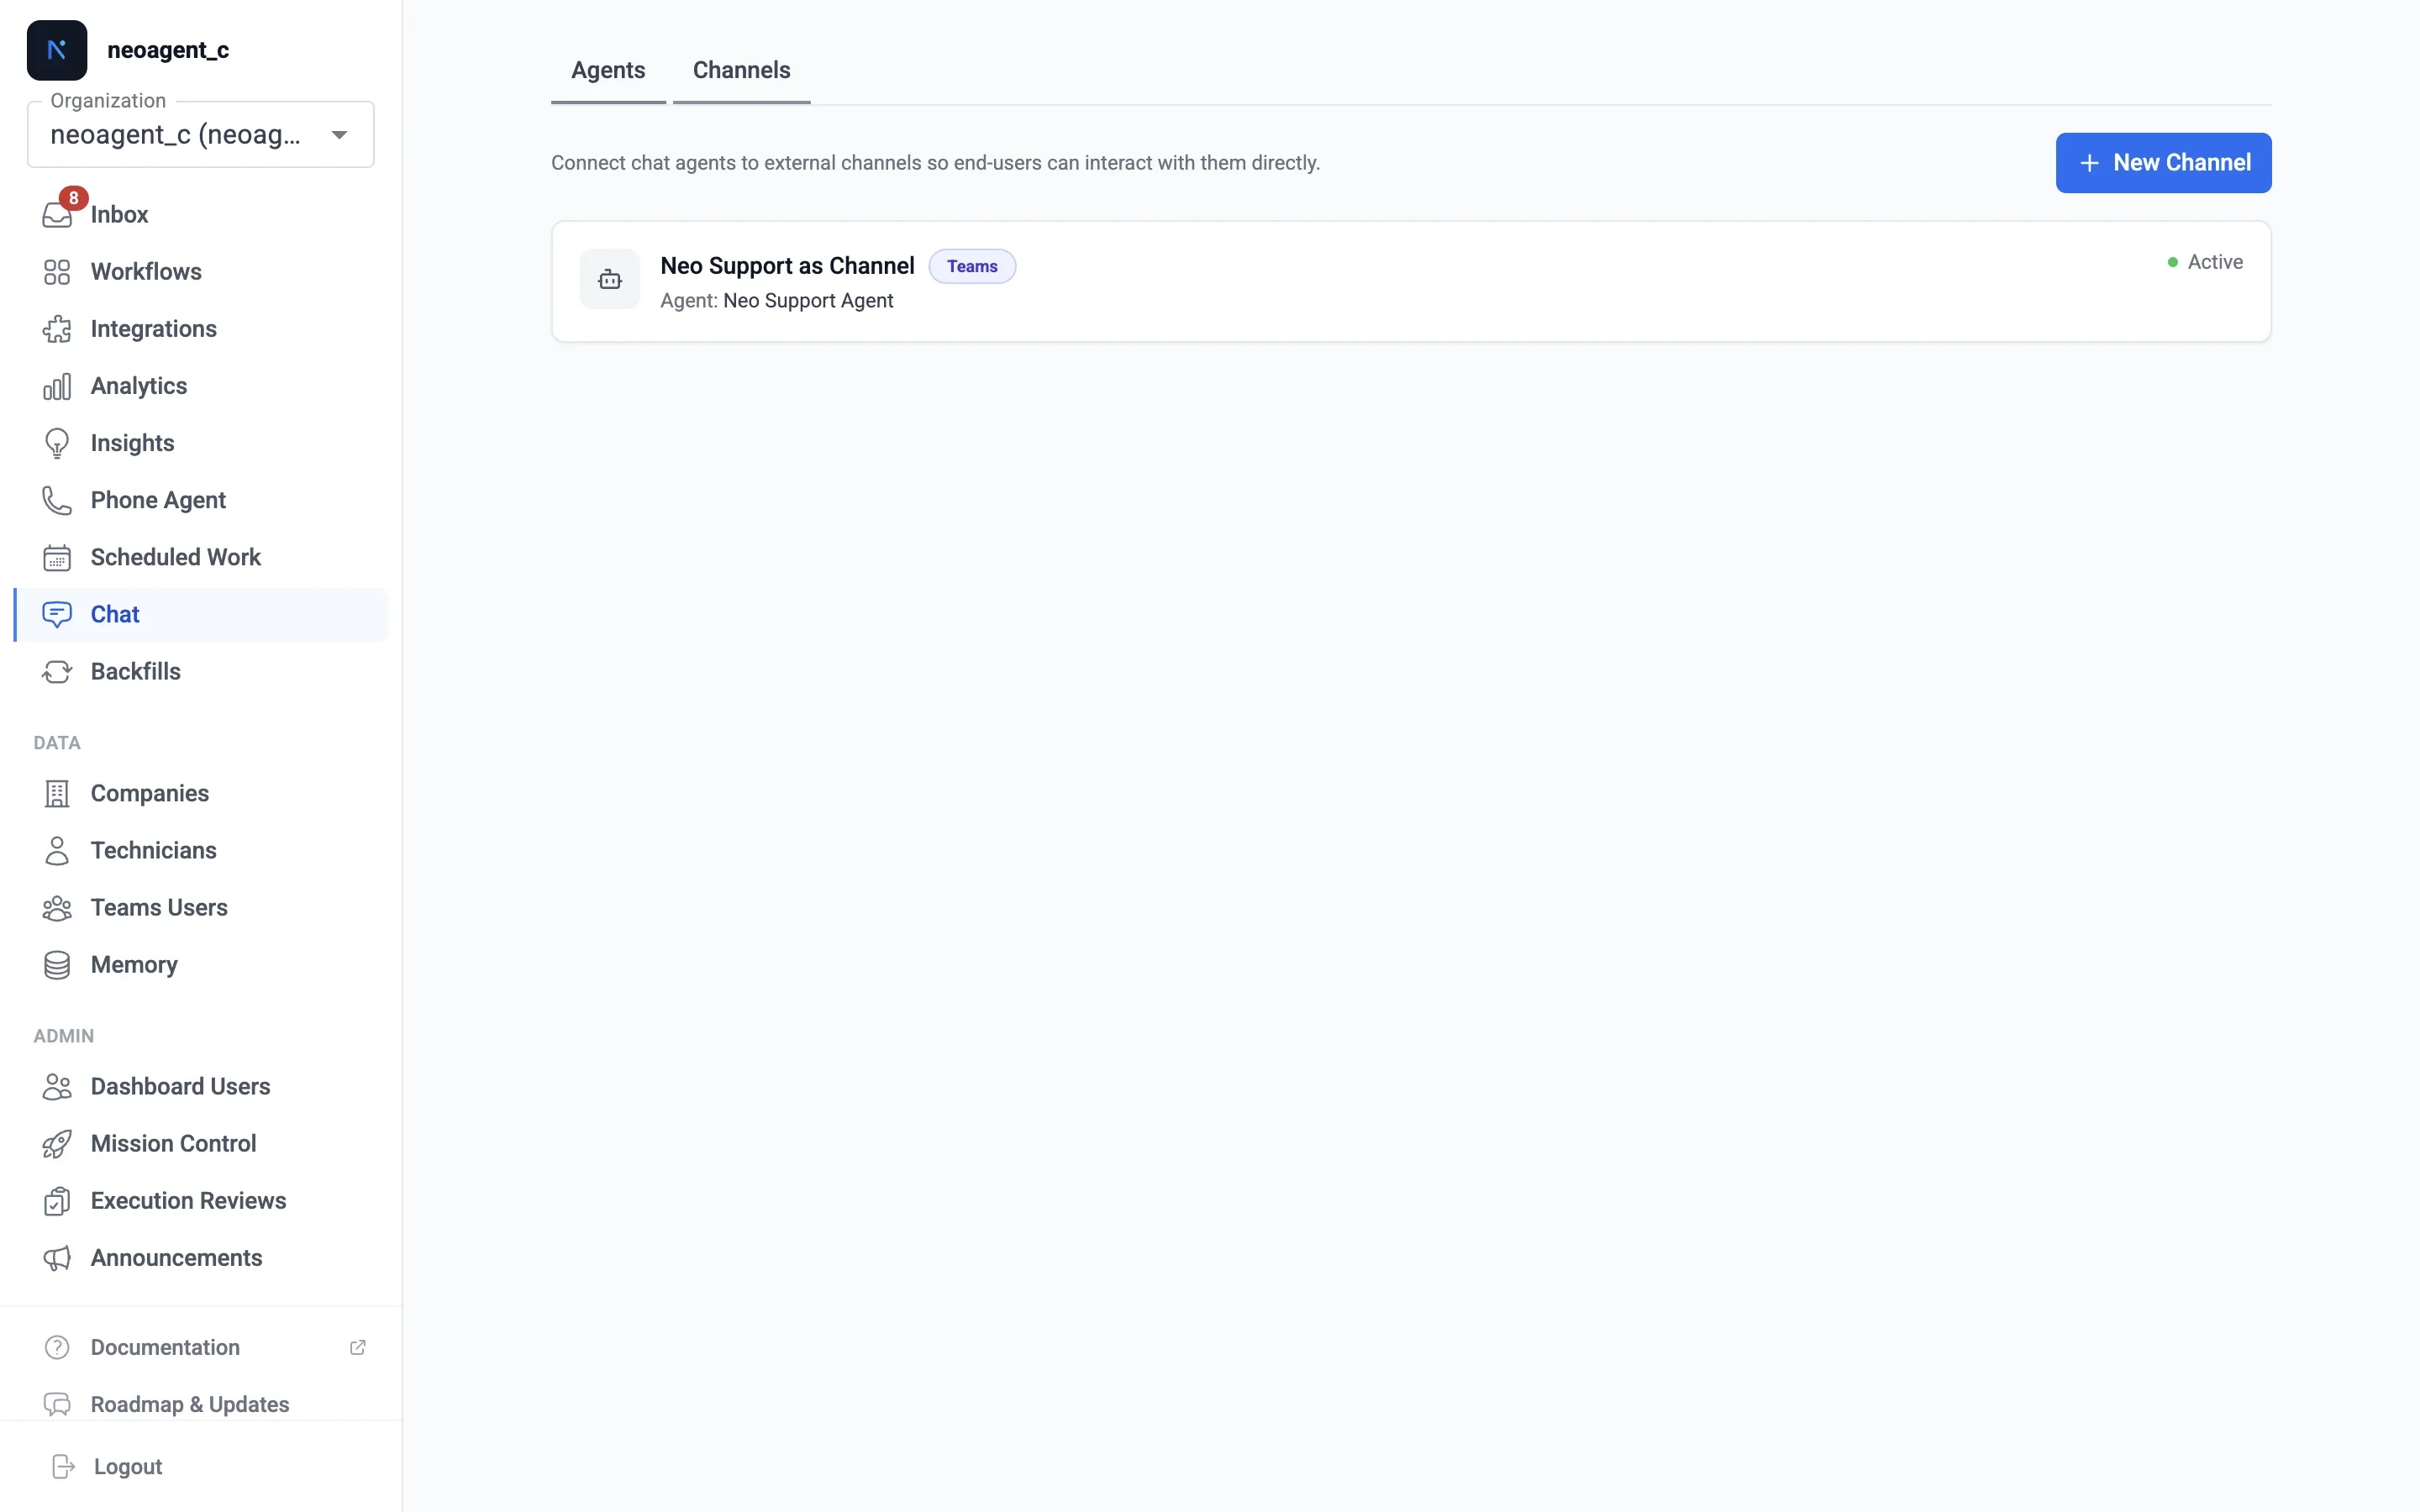
Deleting a channel is reversible on Neo’s side (soft delete), but end users in client tenants will get no response until the bot app is also removed there.
Branding
The channel dialog’s Branding section holds the display name, description, welcome message, and the two icons end users see in Teams. Everything is optional — any field you leave blank uses the Neo default, so a channel works the moment you create it. Clearing a field just restores its default.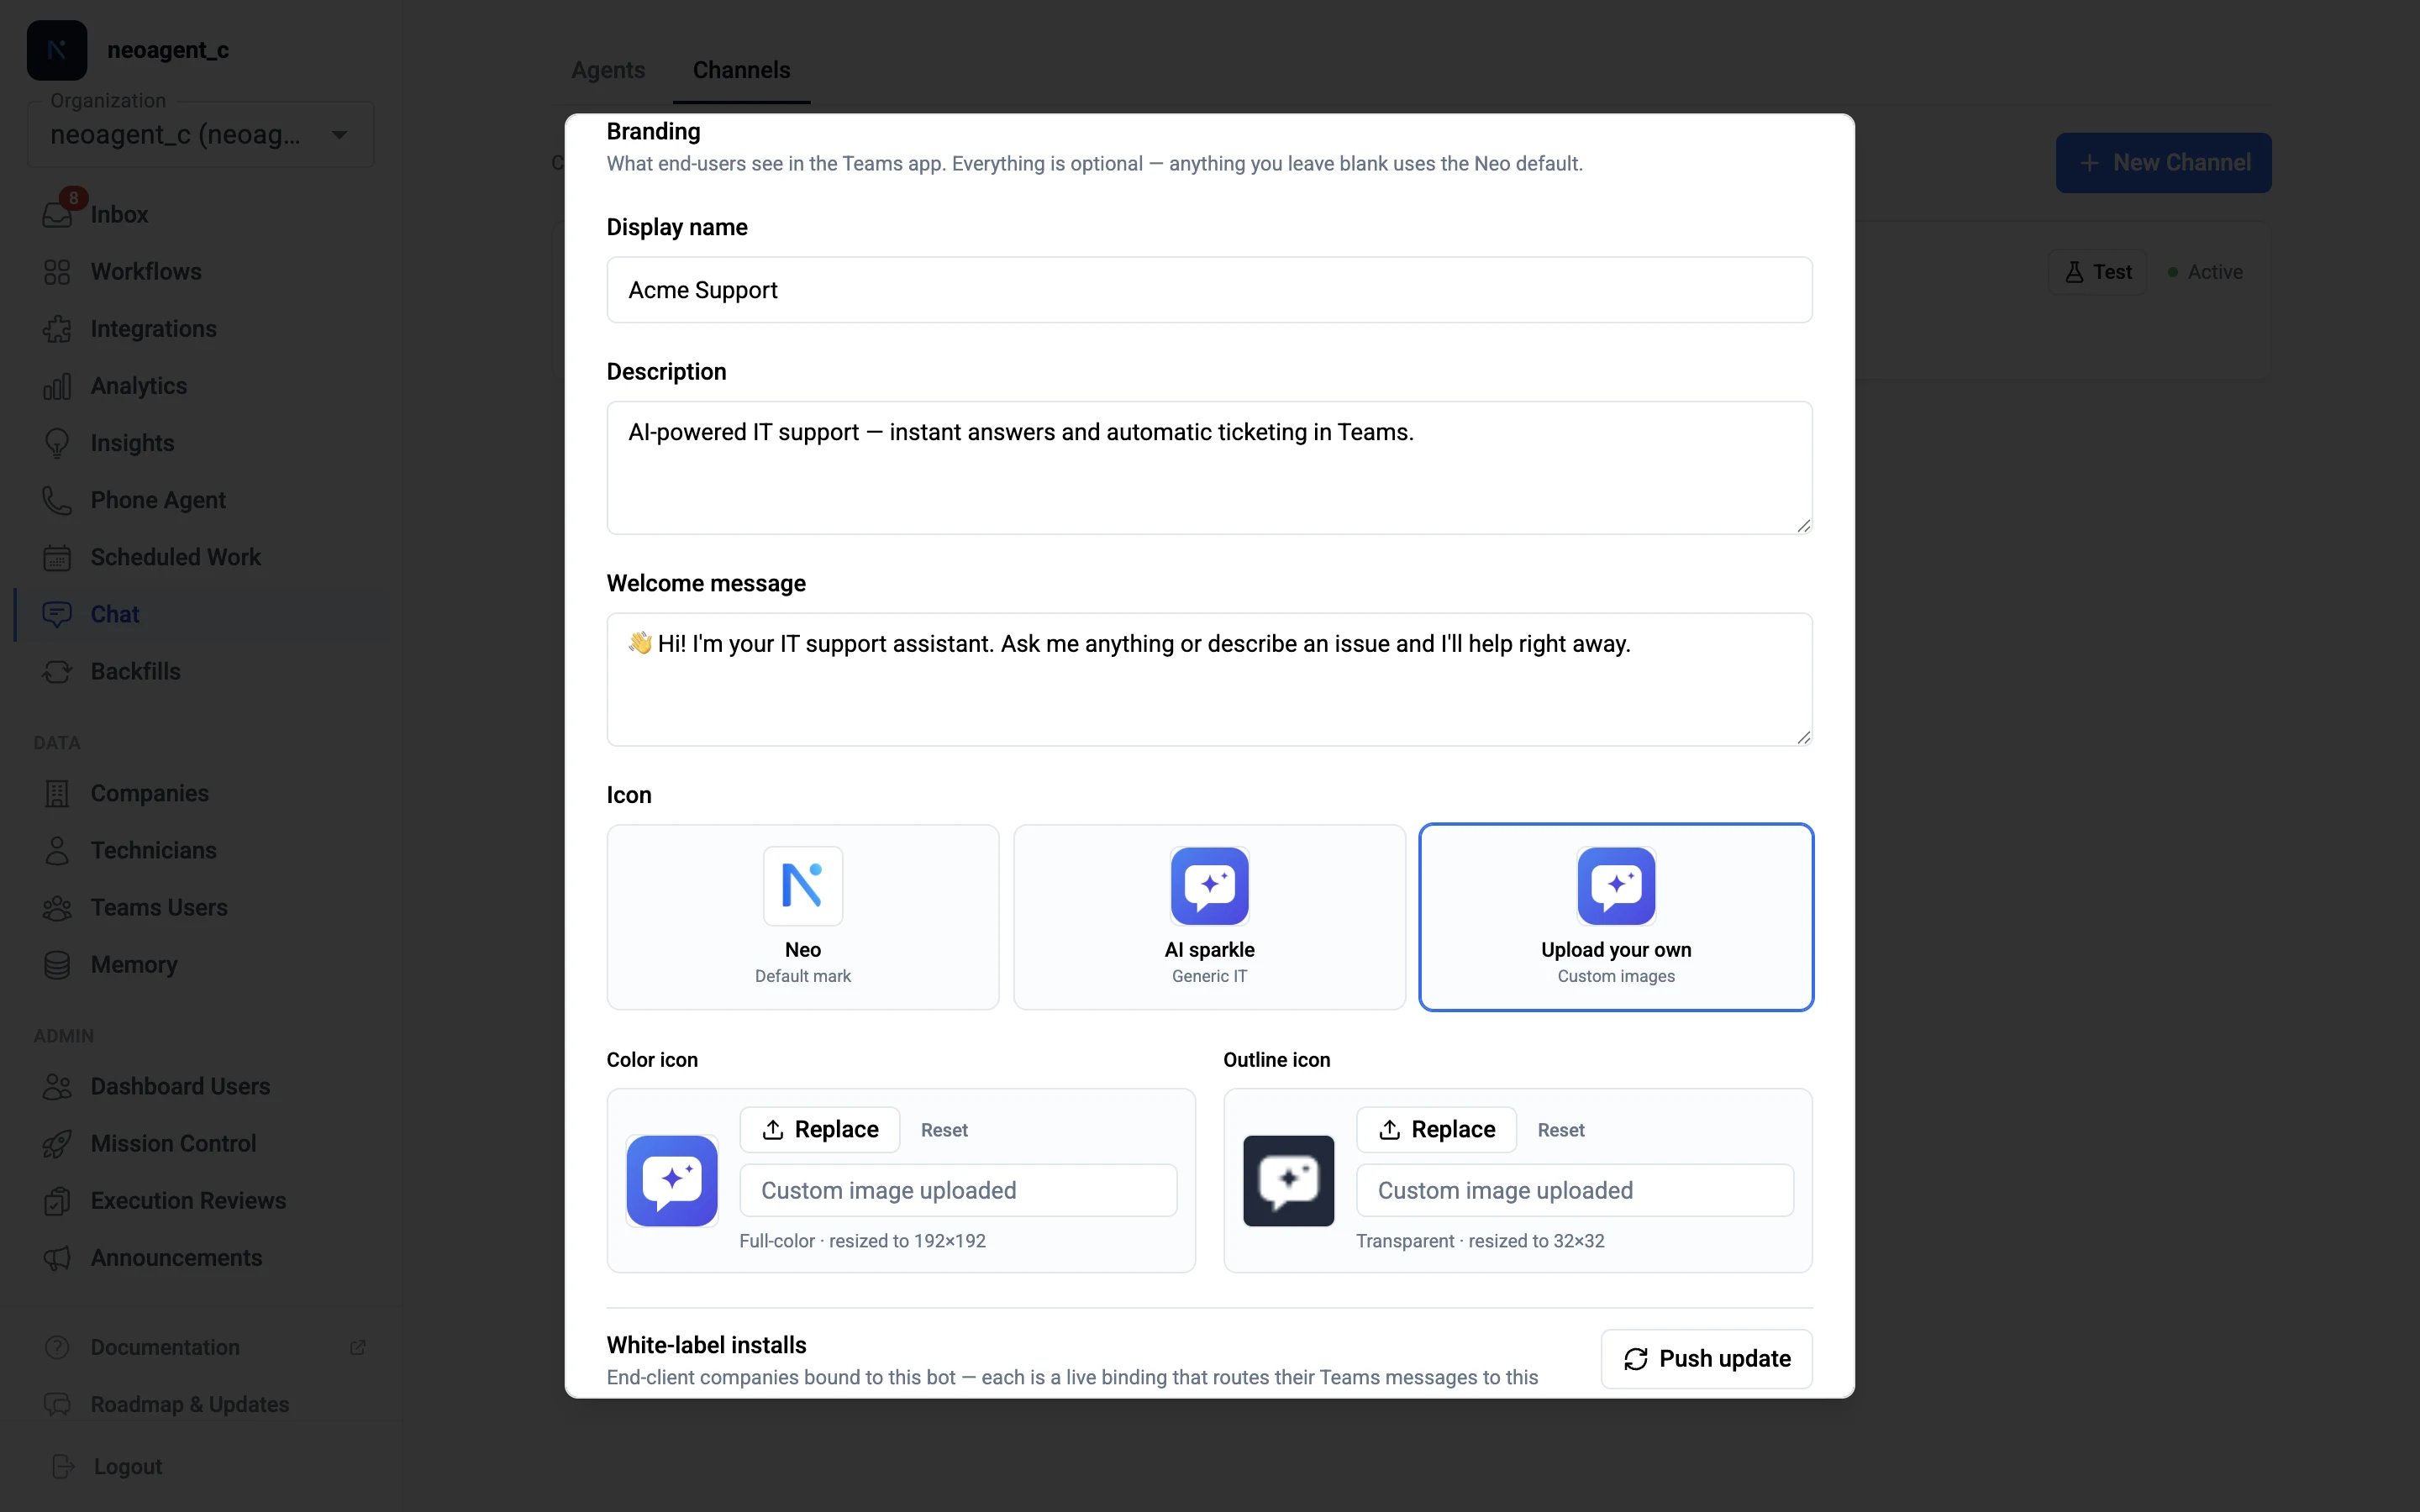
- Welcome message is served at runtime — edits apply immediately, everywhere.
- Display name, description, and icons are baked into the installed Teams app — edits need the app re-published in each client tenant. Push update re-publishes to every link-installed tenant at once; see updating the bot.
Testing as an end-client
Before rolling a bot out to a client, chat with the end-user agent as a real end-user at that company — the same per-company instructions and the same restricted end-user toolbox apply, scoped to that person’s own tickets, just as they’d experience it — without installing anything in their tenant, and without needing a channel at all. It’s the fastest way to tune an agent’s per-client behavior. The test is reached from the Agents tab, because it tests the agent, not the channel. Admins and super-admins only, since the test acts as a real end-user.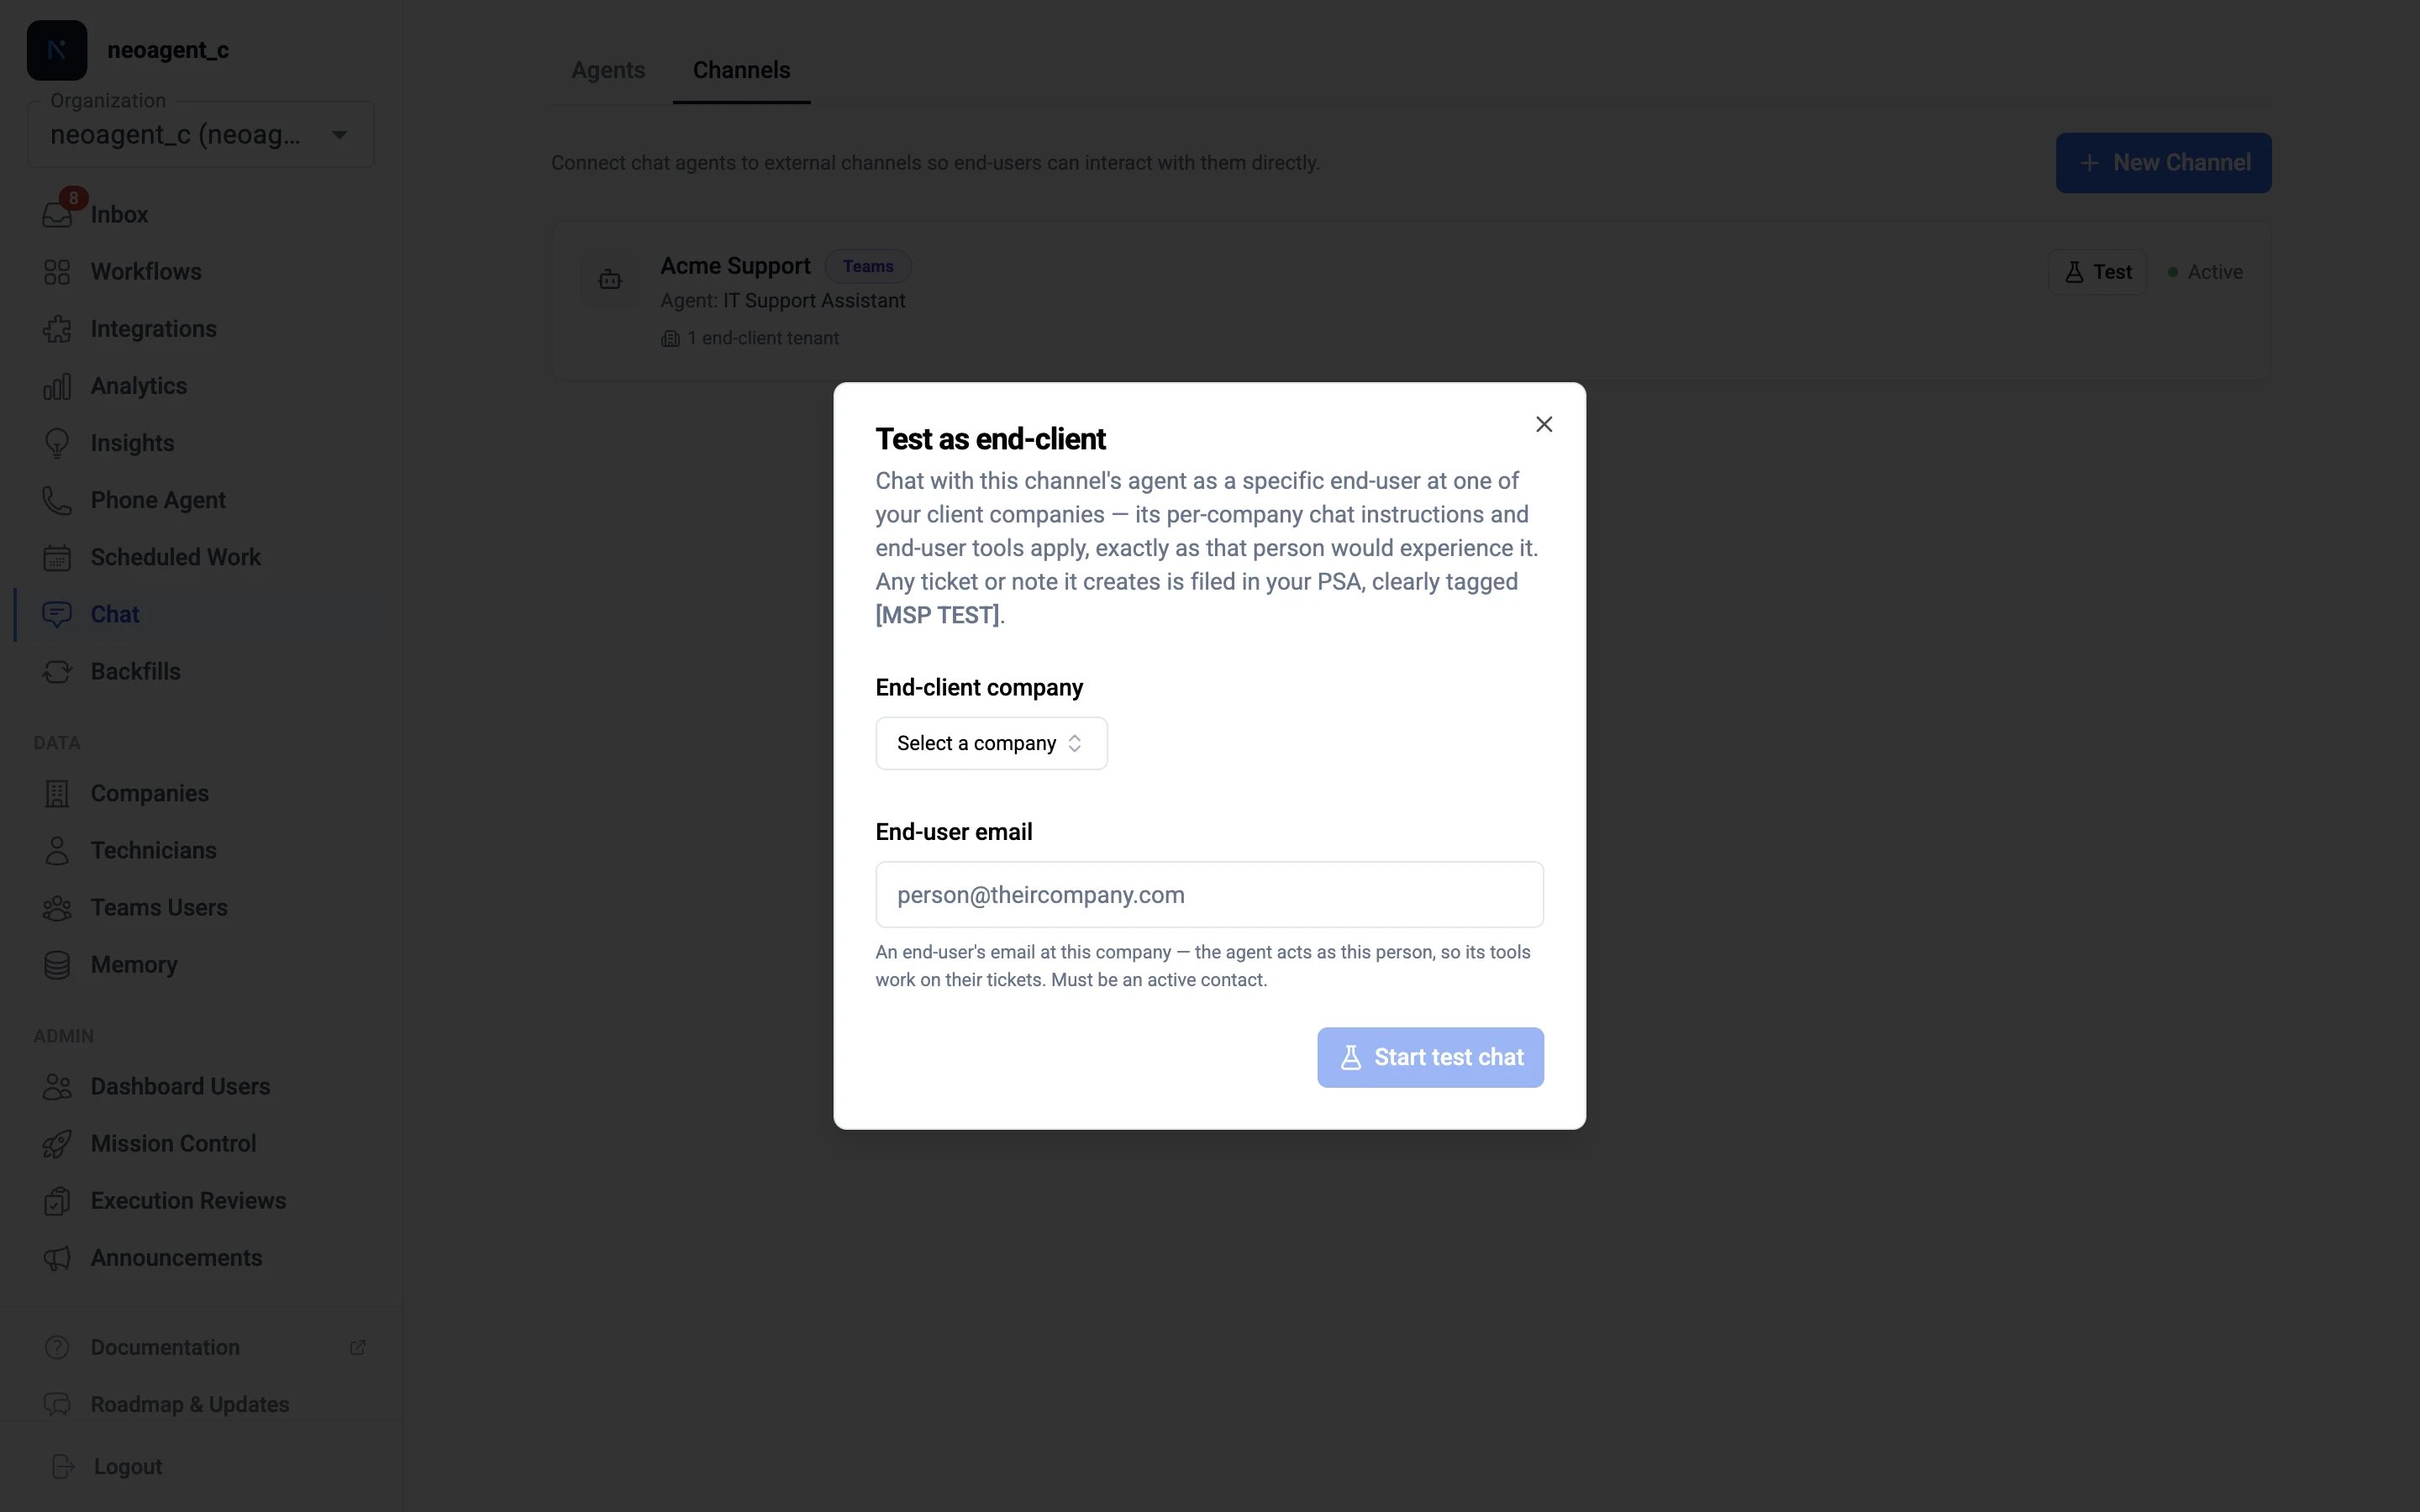
1
Open the agent's test
On Chat → Agents, click Test on the end-user agent’s row (or open the row’s ⋮ menu → Test as end-client). Internal agents show Chat here instead — they have no end-client to act as.
2
Choose who to act as
In Test as end-client, pick the End-client company, then enter an End-user email — a real, active contact at that company. The agent acts as this person, so its tools resolve to their tickets.
3
Chat
Start test chat opens a normal dashboard chat. A banner — acting as <email> at <company> — stays pinned above the conversation so the identity is always clear. Open the agent’s Test again any time to start a fresh session as a different company or contact.
Anything the agent files lands in your PSA as a real record, but unmistakably tagged: ticket titles get an [MSP TEST] prefix and a body line noting the ticket came from a dashboard test, not a real end-user. Test sessions bill like any other dashboard chat.
Troubleshooting
Installing the bot
Where the bot installs follows the audience. Both produce a branded Teams app and bind routing to this channel; the full step-by-step lives in each guide.Internal — into your own tenant
An Internal channel installs into your own Microsoft 365 tenant for your technicians. From the saved channel, Generate install link and open it yourself as a Teams/Global admin (or download the Teams app package and sideload it). Full walkthrough: the custom internal bot guide. An Internal channel can only be installed in your own tenant — Neo refuses a client tenant, because it runs your full cross-company toolbox.End-user — into client tenants
The quickest path is a magic install link: pick the client company under White-label installs, click Generate install link, and send it to a Teams or Global administrator of the client’s Microsoft 365 tenant. They sign in once and approve; Neo publishes your branded app into their tenant and registers routing together — no zip upload. One branded bot per client — a company already bound to another channel can’t be added. (No admin access, or the app already installed? Register routing directly and upload the Teams app package manually instead.) Channel cards on the Channels tab show each channel’s bound-tenant count at a glance. The full step-by-step procedure — including the Teams admin center walk-through, verification, updates, and troubleshooting — is the end-user bot deployment guide.The company picker uses the Microsoft 365 tenant ID set on each Company — a company without one can’t be added until you set it there.
What people experience in Teams
This is the same for both audiences: your bot, your name and icon — Neo isn’t visible. The welcome message greets them on first contact; 1:1 chats always respond, group chats follow the agent’s mention mode;/reset or /new starts a fresh conversation.
While the bot works on a reply it shows a live “working…” card listing the steps it’s taking, so a longer answer never looks stuck. If you’d rather people just see the final answer, turn off Show progress updates in the channel’s settings — the card disappears and the bot’s answers are unchanged.
On an end-user channel, when a technician’s reply on a ticket is relayed into the chat, it’s labelled as coming from a person — with the ticket number and current status — so employees know it isn’t the AI. Adjust the wording, pick another language, or switch the label off under Label relayed technician messages in the channel’s settings.