You’ll need your instance URL and the RESTful API Manager authentication secret to complete this setup.
Required Information
Your ScreenConnect instance URL, e.g.
https://yourcompany.screenconnect.com. Enter just the host — the API path is appended automatically.The RESTful Authentication Secret from the RESTful API Manager extension.
ScreenConnect authenticates with a single secret — there is no separate client ID, so the Neo form only asks for the URL and the Client Secret.
Configuring the Integration
Access the Neo Agent Dashboard
Navigate to the Neo Agent Dashboard and log in.
Navigate to RMM Integrations
From the dashboard: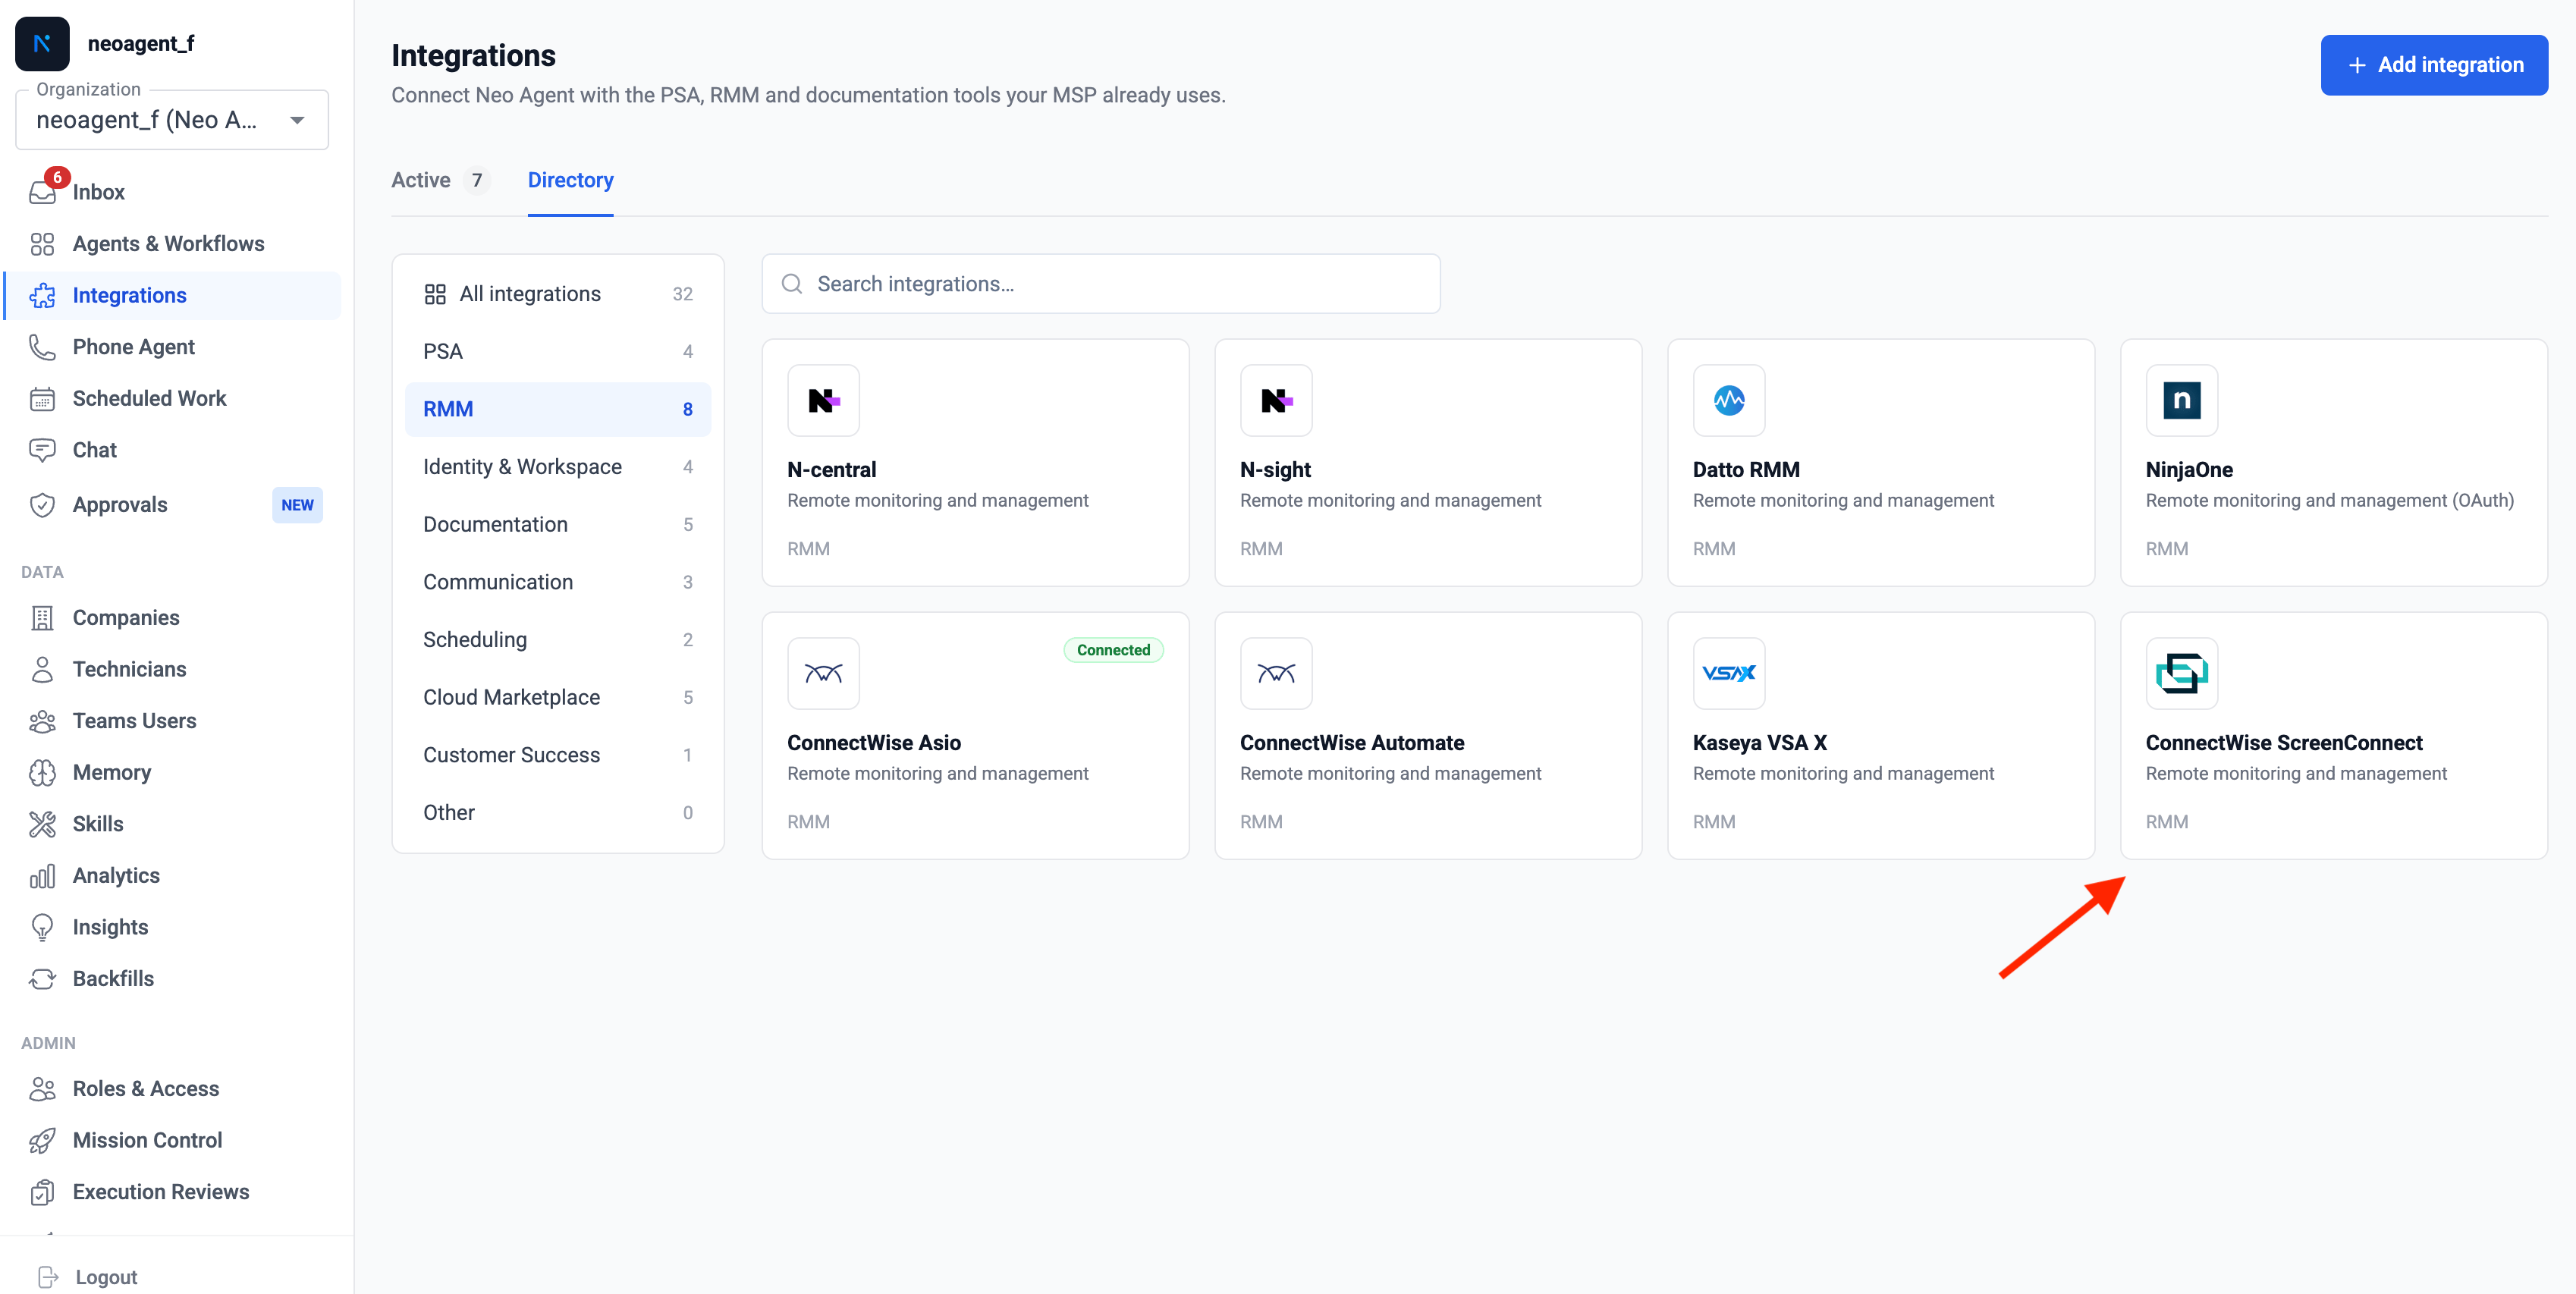
- Click Integrations in the left sidebar
- Select the RMM category
- Find and select ConnectWise ScreenConnect from the list of available RMM integrations
Enter Your Credentials
Complete the ConnectWise ScreenConnect integration setup form: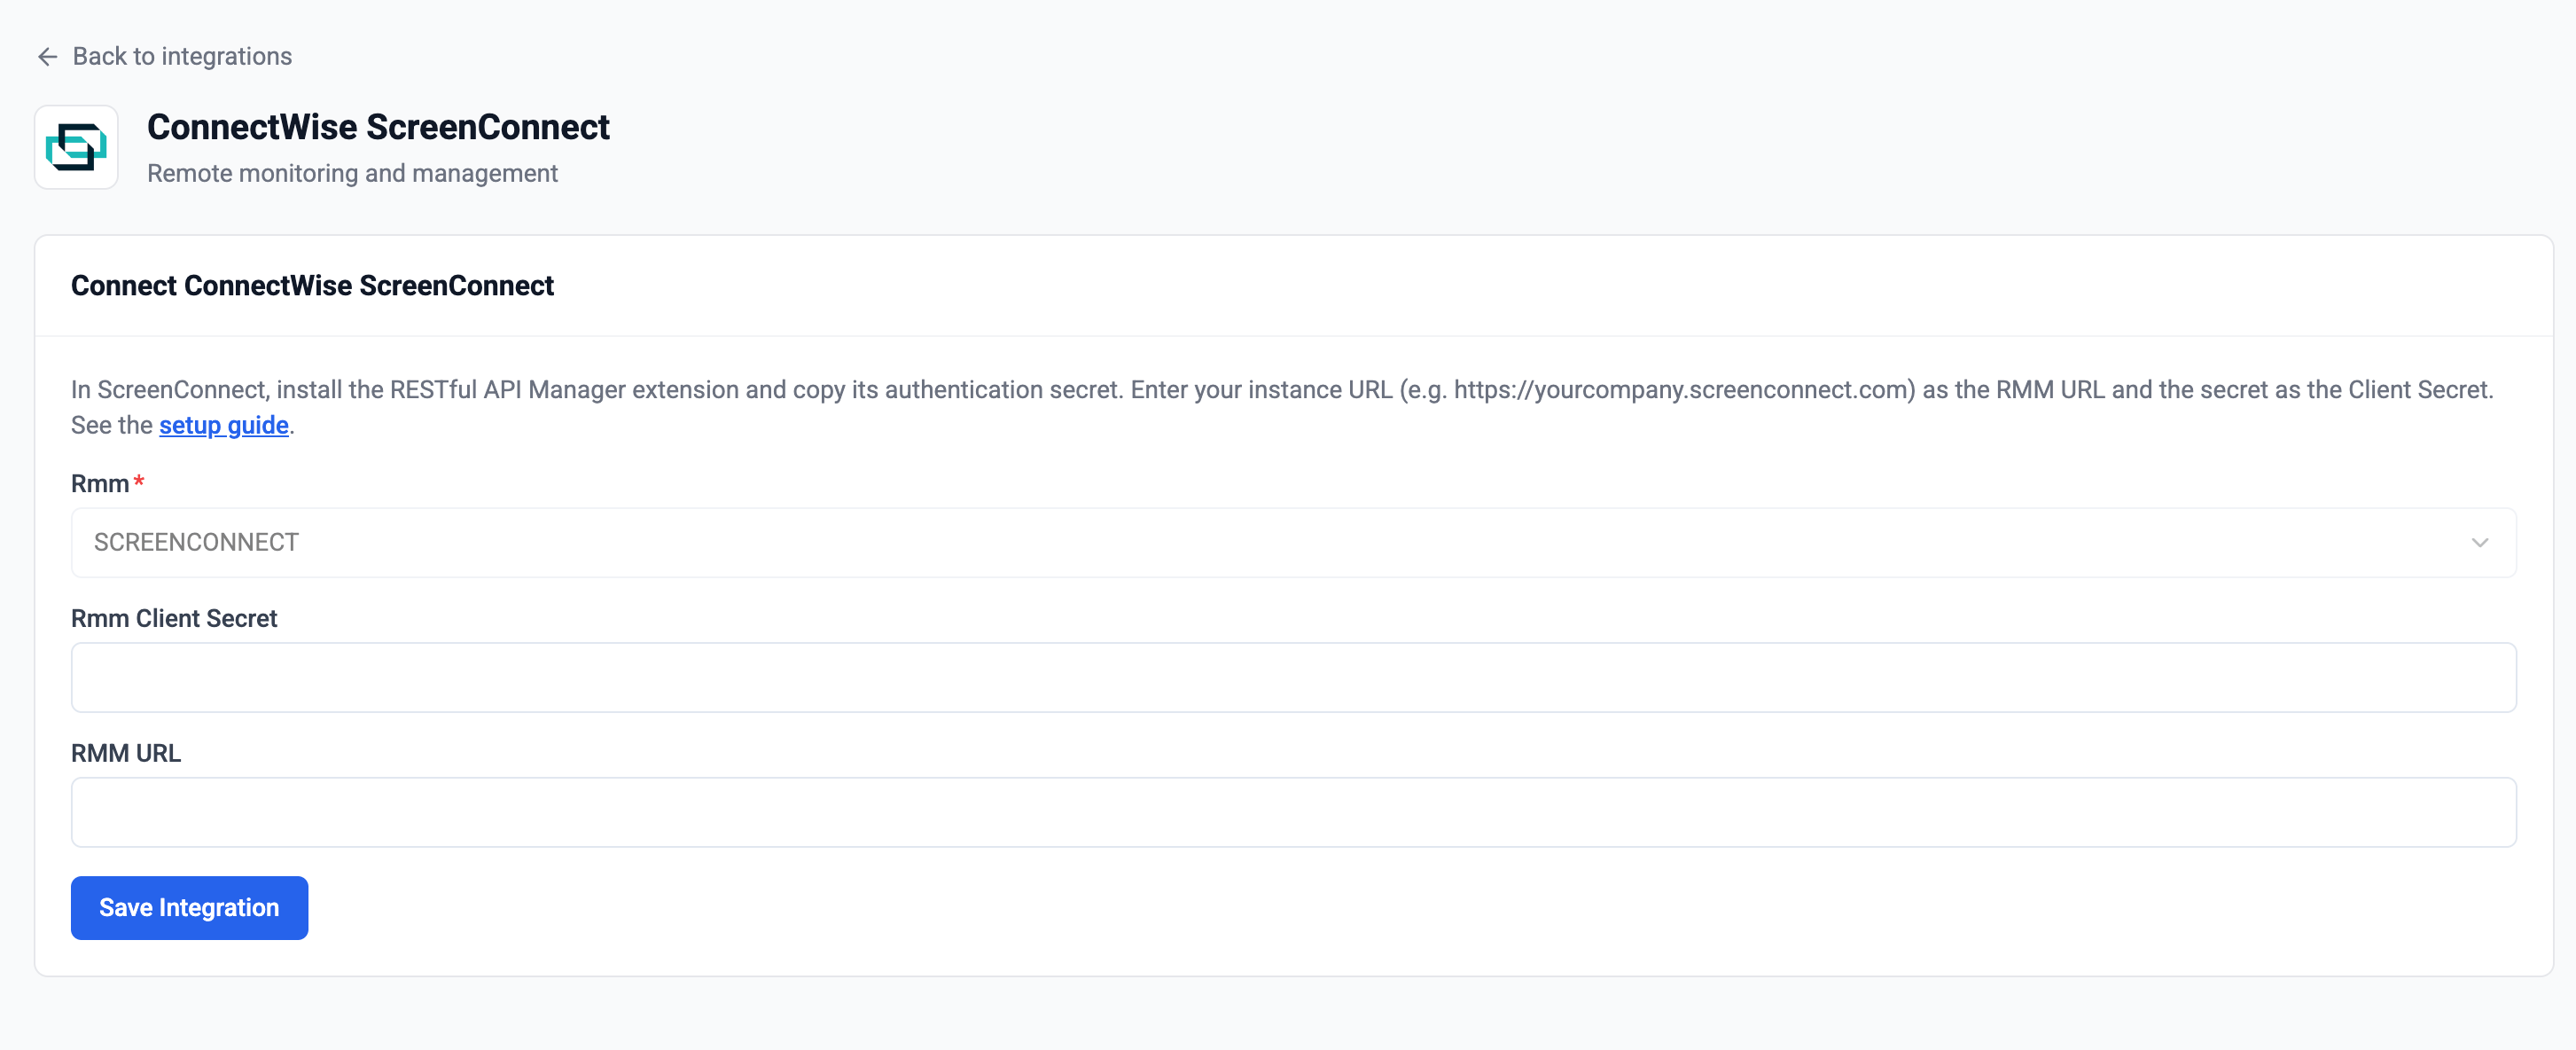
- RMM URL: Enter your instance URL (e.g.
https://yourcompany.screenconnect.com) - RMM Client Secret: Enter your RESTful Authentication Secret
Troubleshooting Connection Issues
Authentication Errors (401 / 403)
Authentication Errors (401 / 403)
- Verify the authentication secret is correct and copied without extra spaces
- Confirm the RESTful API Manager extension is installed and enabled
- Check that the secret hasn’t been rotated in the extension settings since you copied it
- Confirm the instance URL is correct (just the host, e.g.
https://yourcompany.screenconnect.com)
Devices Not Appearing
Devices Not Appearing
- Wait a few minutes for the initial sync to complete after connecting
- Confirm the instance has installed (access) agents — Neo reads ScreenConnect Access sessions as devices
Configuring Permission Groups
Once connected, open Agent Settings → Permission Groups to choose what the agent may do in ScreenConnect. Each group can be Disabled, Read-only, or Read & Write:| Group | Read | Write |
|---|---|---|
| Sessions | Find sessions, read session detail (OS, last-contact, custom properties) and command output | Create sessions, rename, update custom properties, add notes |
| Commands | — | Send a shell/PowerShell command and read the output |
| Toolbox & Messaging | — | Run a pre-staged Toolbox item, send a chat message to the end user |
What’s Next?
With ScreenConnect connected, Neo can:- Device lookup — pull session status, OS, and last-contact time while triaging tickets
- Company mapping — associate sessions with the right PSA company by name
- Remote action — run a command or Toolbox item and message the end user, where you’ve granted write access