Set up a dedicated agent in HaloPSA for Neo Agent to use when performing actions, logging time, and updating tickets
To enable Neo Agent to add notes, log time, and perform actions within your HaloPSA system, you need to create a dedicated agent (resource) that Neo Agent will impersonate.
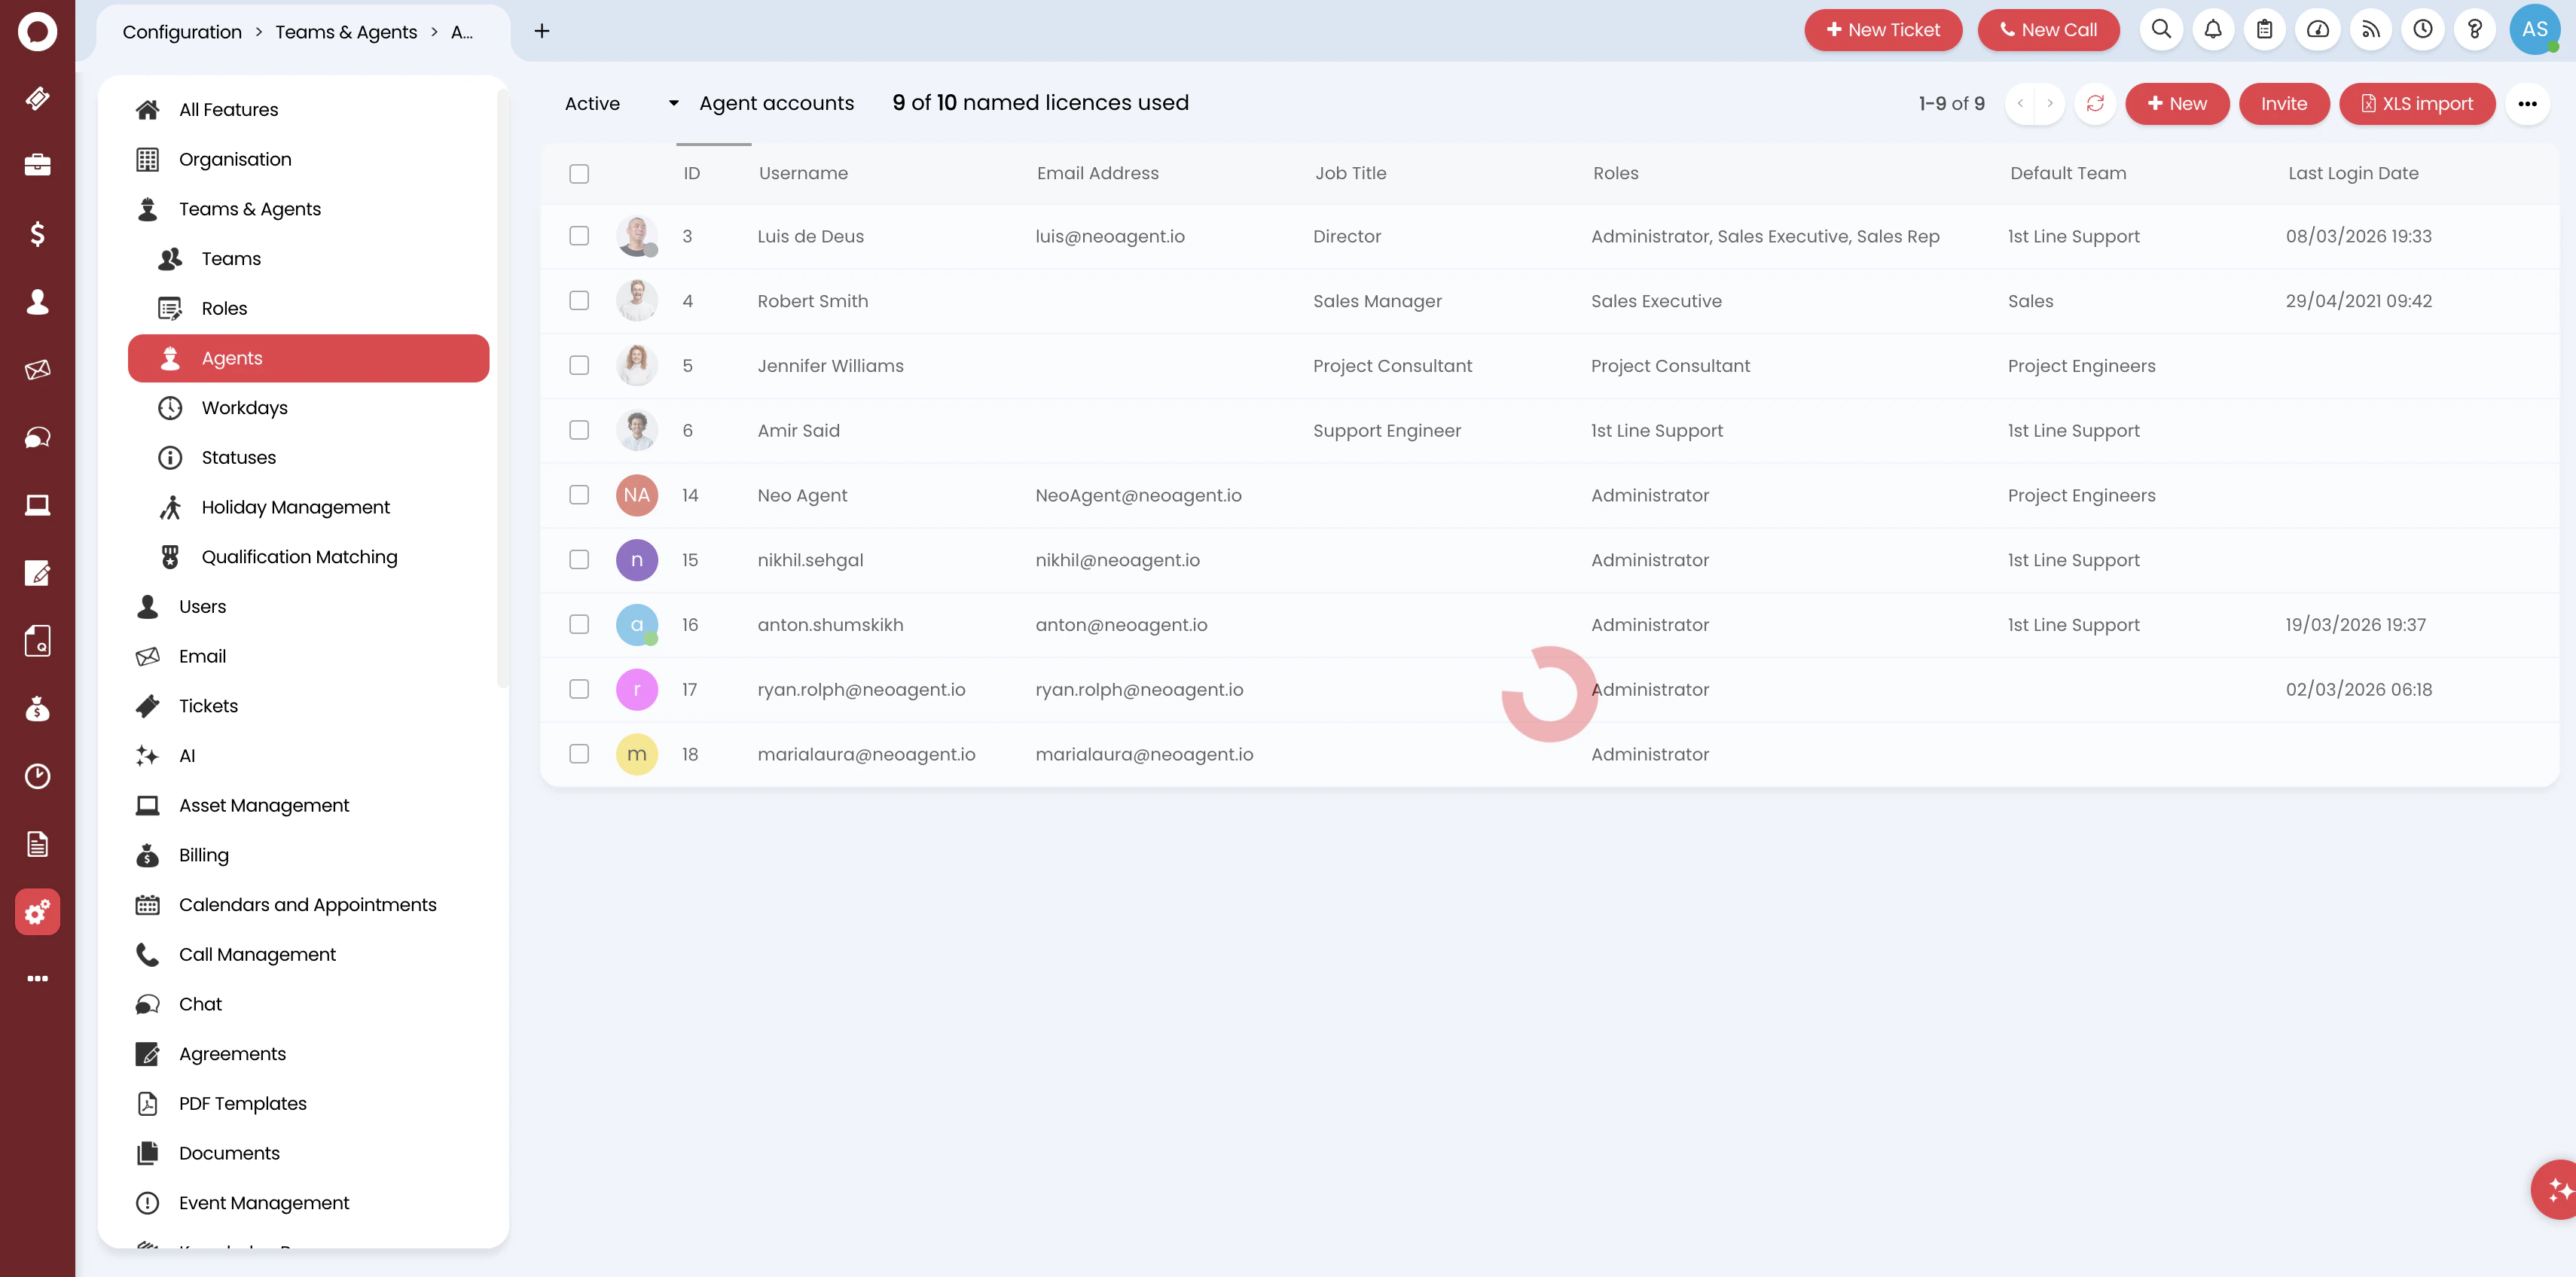
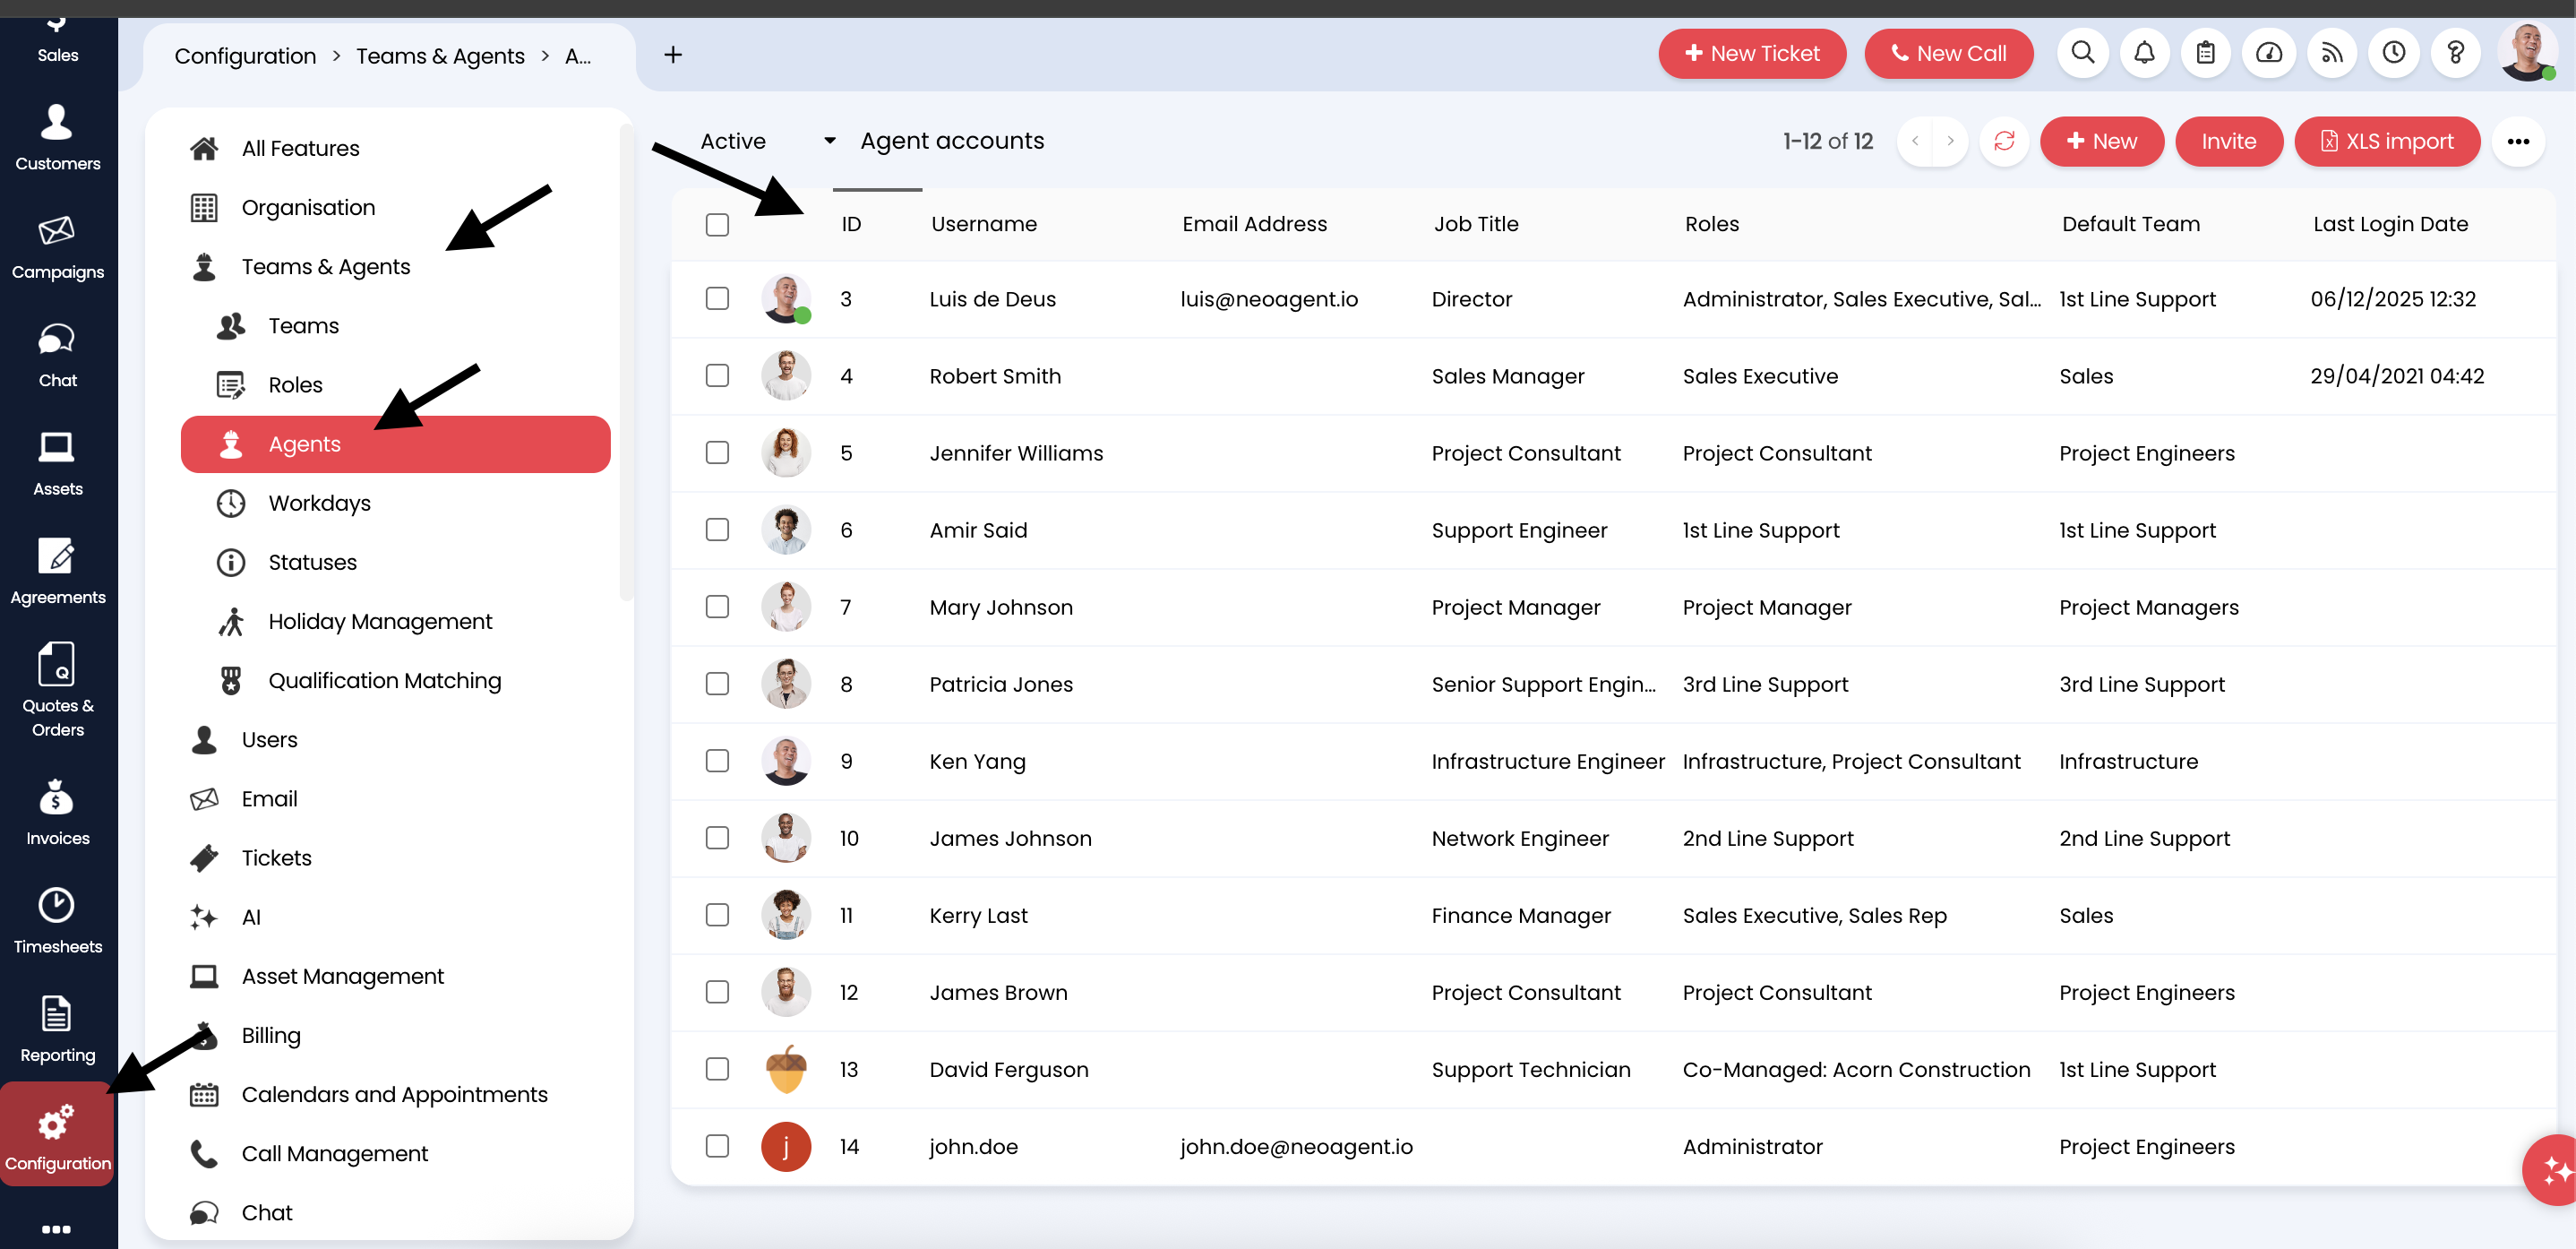
Go to Configuration → Teams & Agents → Agents to access the agent accounts list.
The Agents list shows all agent accounts with their IDs, usernames, and team assignments
Click New to create a new agent resource.
2
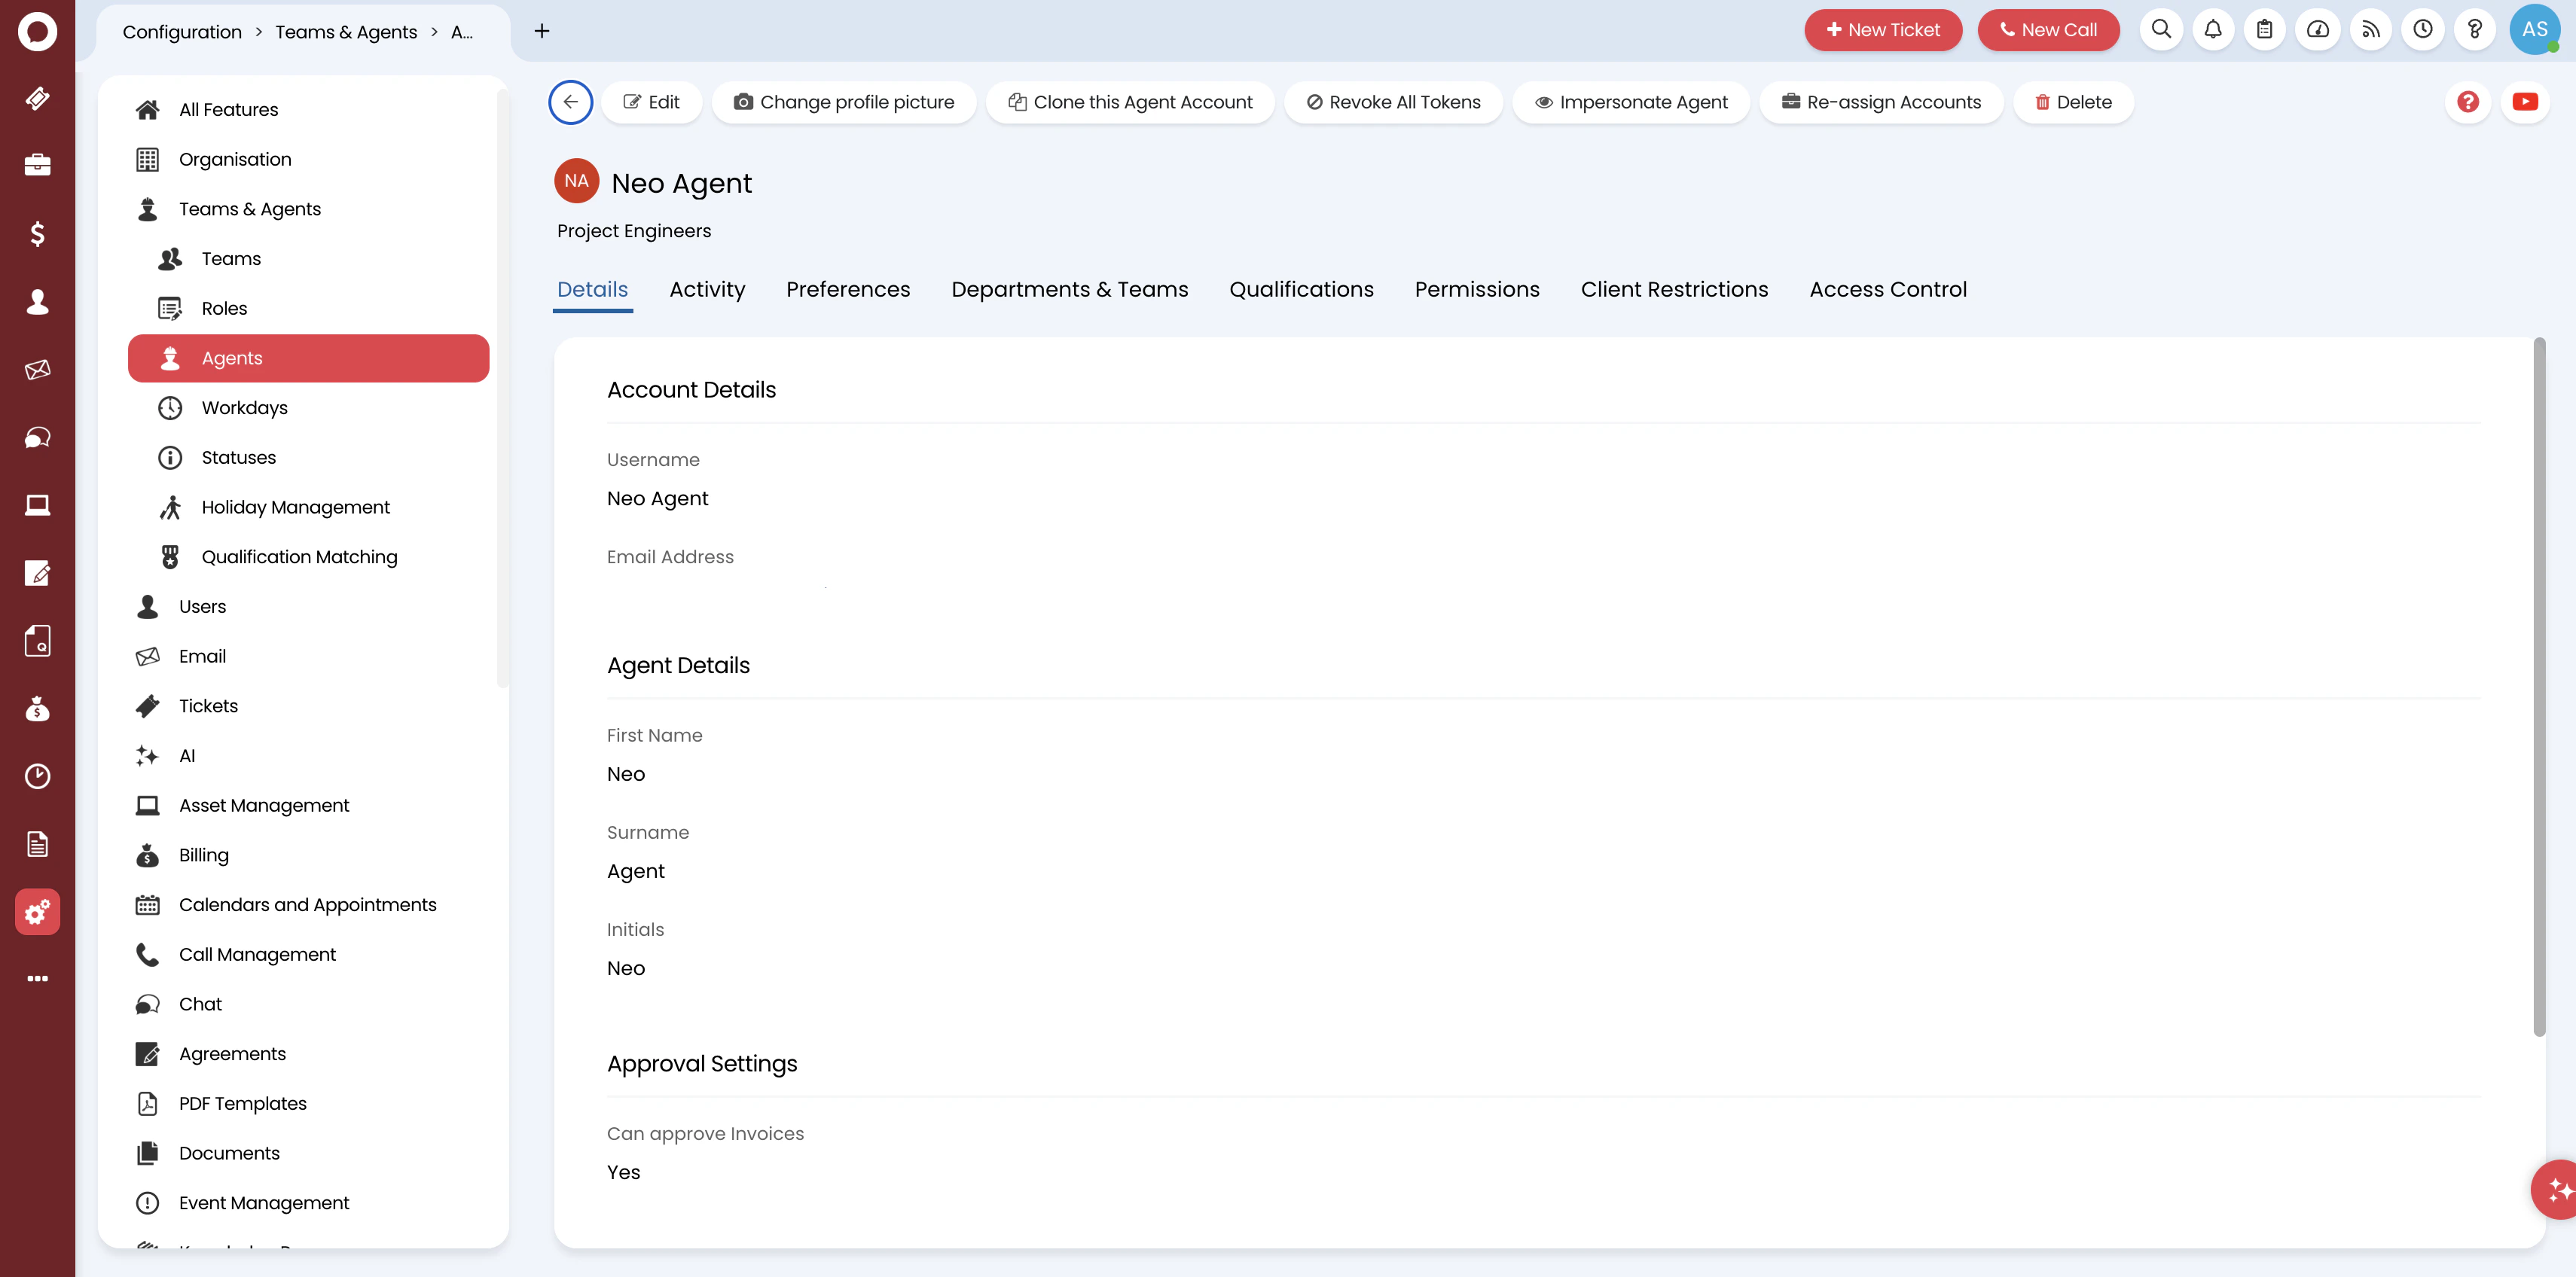
Configure account details
Fill in the essential account information:
Username: Enter a descriptive name like Neo Agent
Email Address: Set to team@neoagent.io or your designated email
Password: Set any password — Neo Agent uses API authentication, not the UI
Roles: Select an appropriate role (e.g., 1st Line Support or Administrator)
Account Active: Ensure this is checked
Is an API-only Agent: Leave unchecked — Neo Agent needs to assign tickets to itself and create time entries, which require a full agent account
Configure the agent's account details — username, email, role, and active status
The name you choose will be visible in ticket histories, time entries, and notes. Use “Neo Agent” for clear attribution, or a real person’s name if you want end-user communications to feel more personal.
3
Assign to a team
Navigate to the Departments & Teams tab and assign the agent to the appropriate team(s) that handle tickets Neo Agent will work on.
The agent must be assigned to at least one team to appear in team-scoped ticket views and to be assignable to tickets.
4
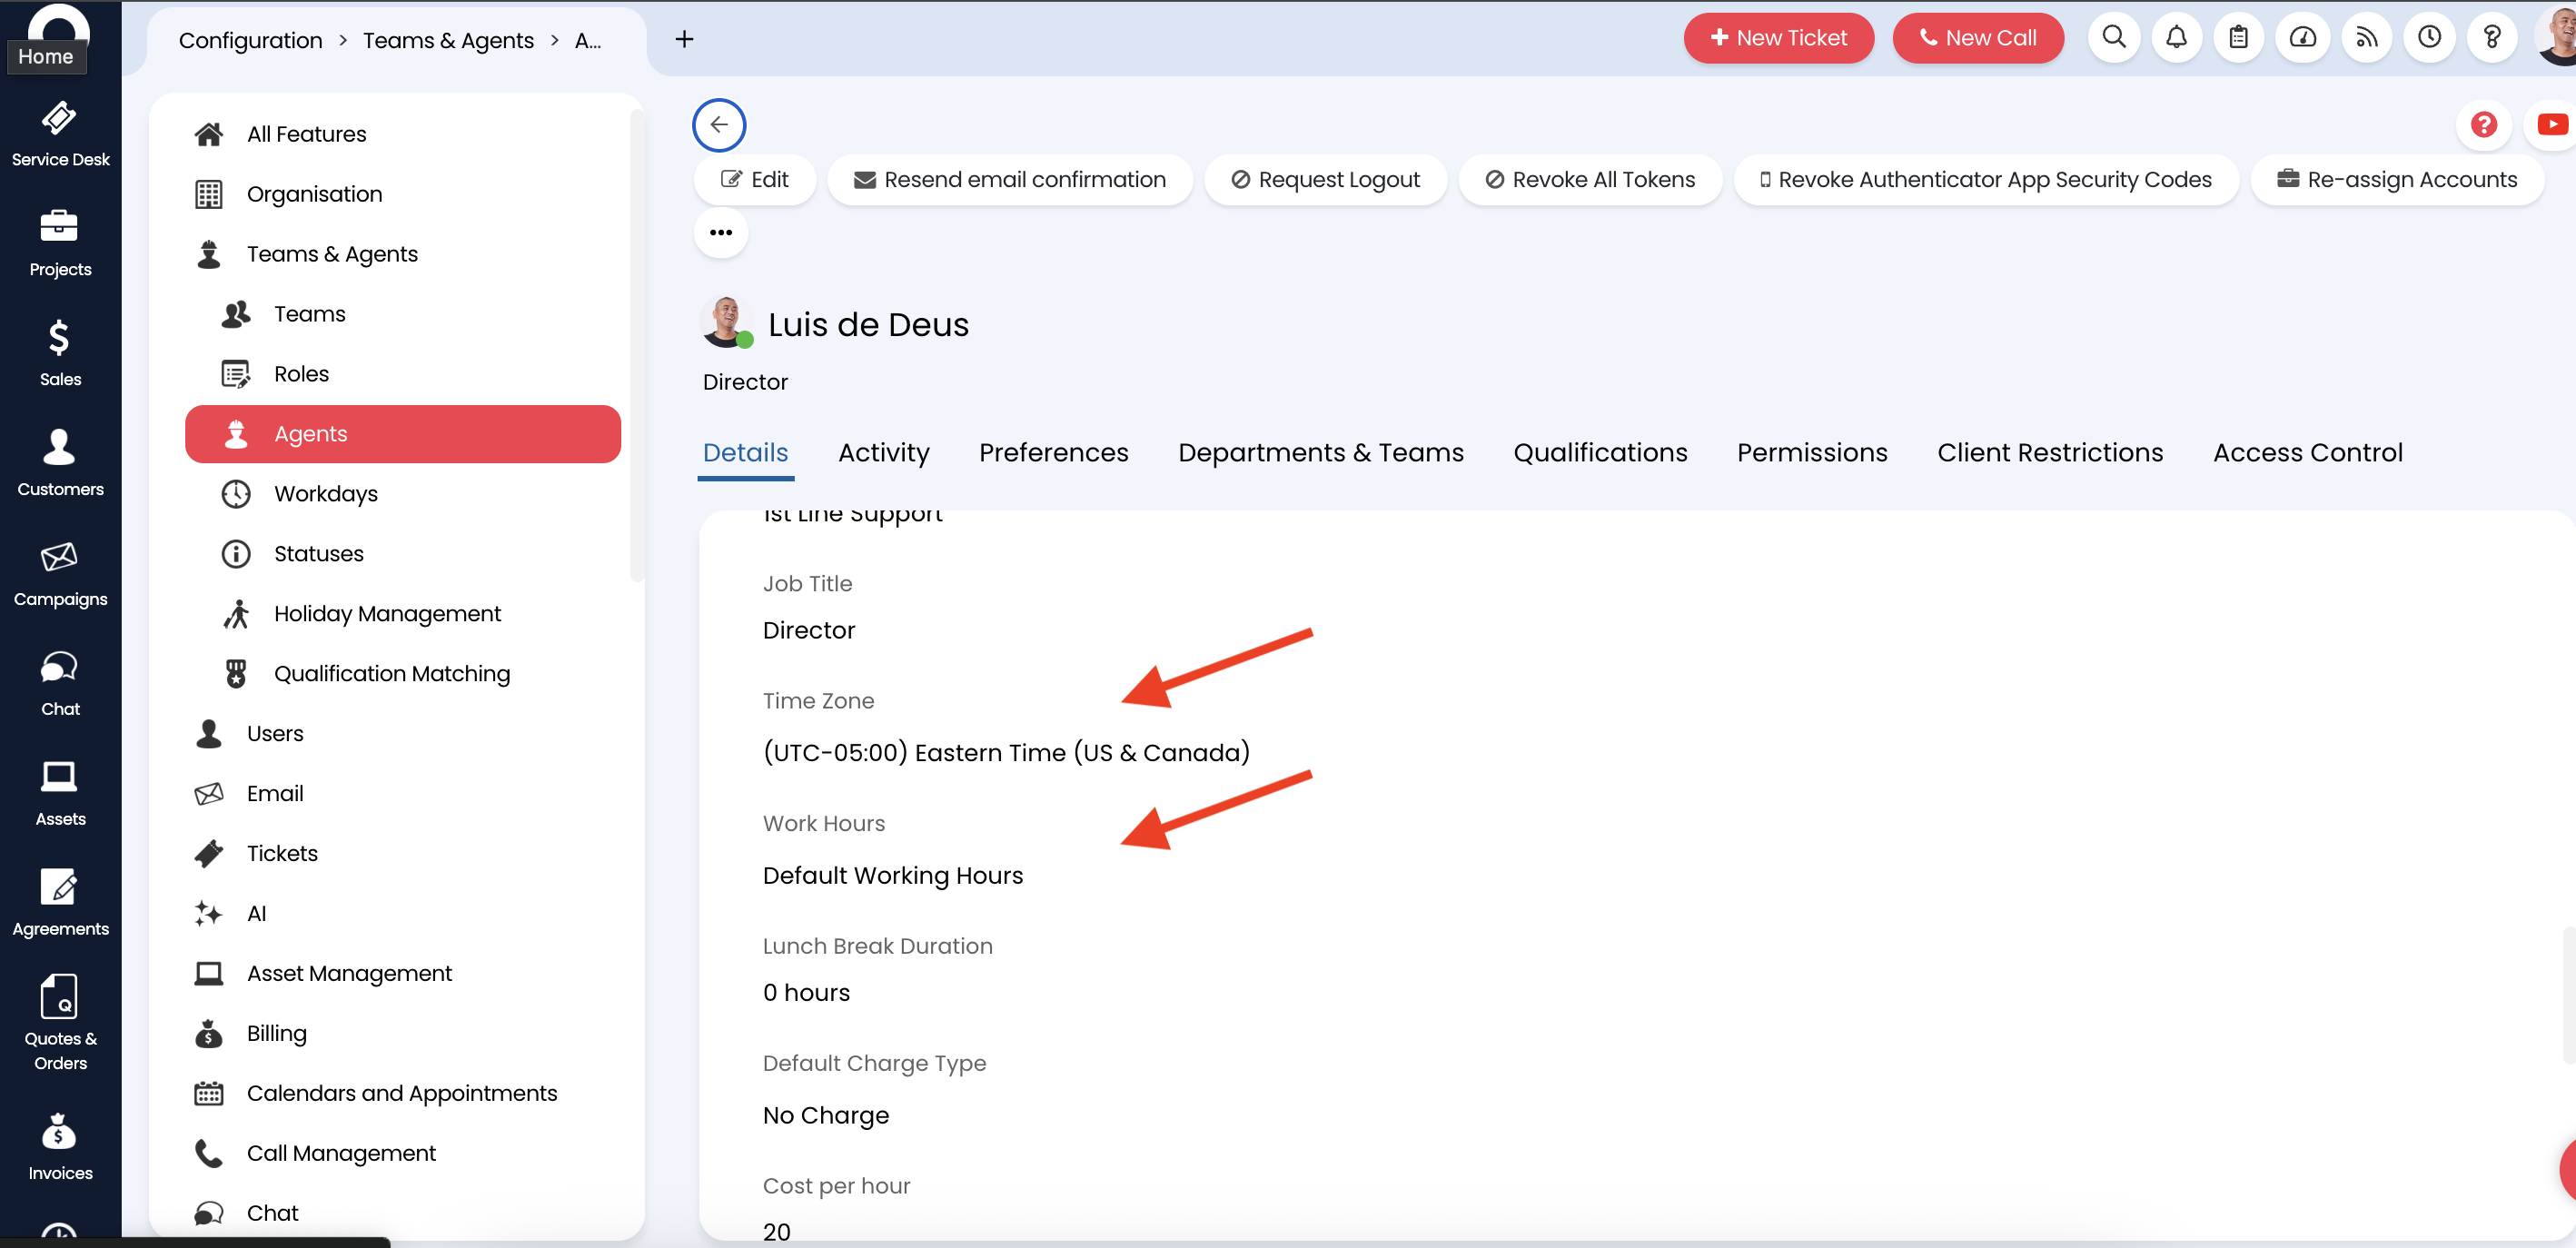
Configure working hours and timezone
In the Preferences tab, set the agent’s Working Hours and Timezone to match your primary support hours.
Set the agent's working hours and timezone in the Preferences tab
The timezone setting affects how time entries are recorded. Set it to your primary service region’s timezone.
5
Save and note the Agent ID
Click Save to create the agent. After saving, note the Agent ID — you’ll find it in the ID column on the Agents list page.
Find the Agent ID in the ID column on the Agents list page
Record the Agent ID — you’ll need it when creating the API application and connecting to Neo Agent.