Configure a custom security level with comprehensive permissions for Neo Agent’s Autotask integration
To enable Neo Agent to interact with your Autotask system, you first need to create a dedicated security level with the appropriate permissions across all relevant modules.
Neo Agent uses two layers of access control to keep your Autotask data safe:
Autotask Security Level (what you configure here) — sets the maximum API access available, just like setting up any technician account.
Neo Agent Dashboard — where you choose exactly what Neo can do. You configure permission groups that control which areas Neo can read, write, or ignore — and whether actions require technician approval first.
Think of it like onboarding a new team member: you give them a security level in Autotask so they can access the areas they need, then their manager decides which tasks they actually work on. The Autotask security level is the ceiling — Neo Agent’s dashboard settings are the actual controls.
Granting permissions here does not mean Neo Agent will use them all. It simply ensures Neo can operate when you enable a capability in the dashboard. You stay in control of what Neo actually does.
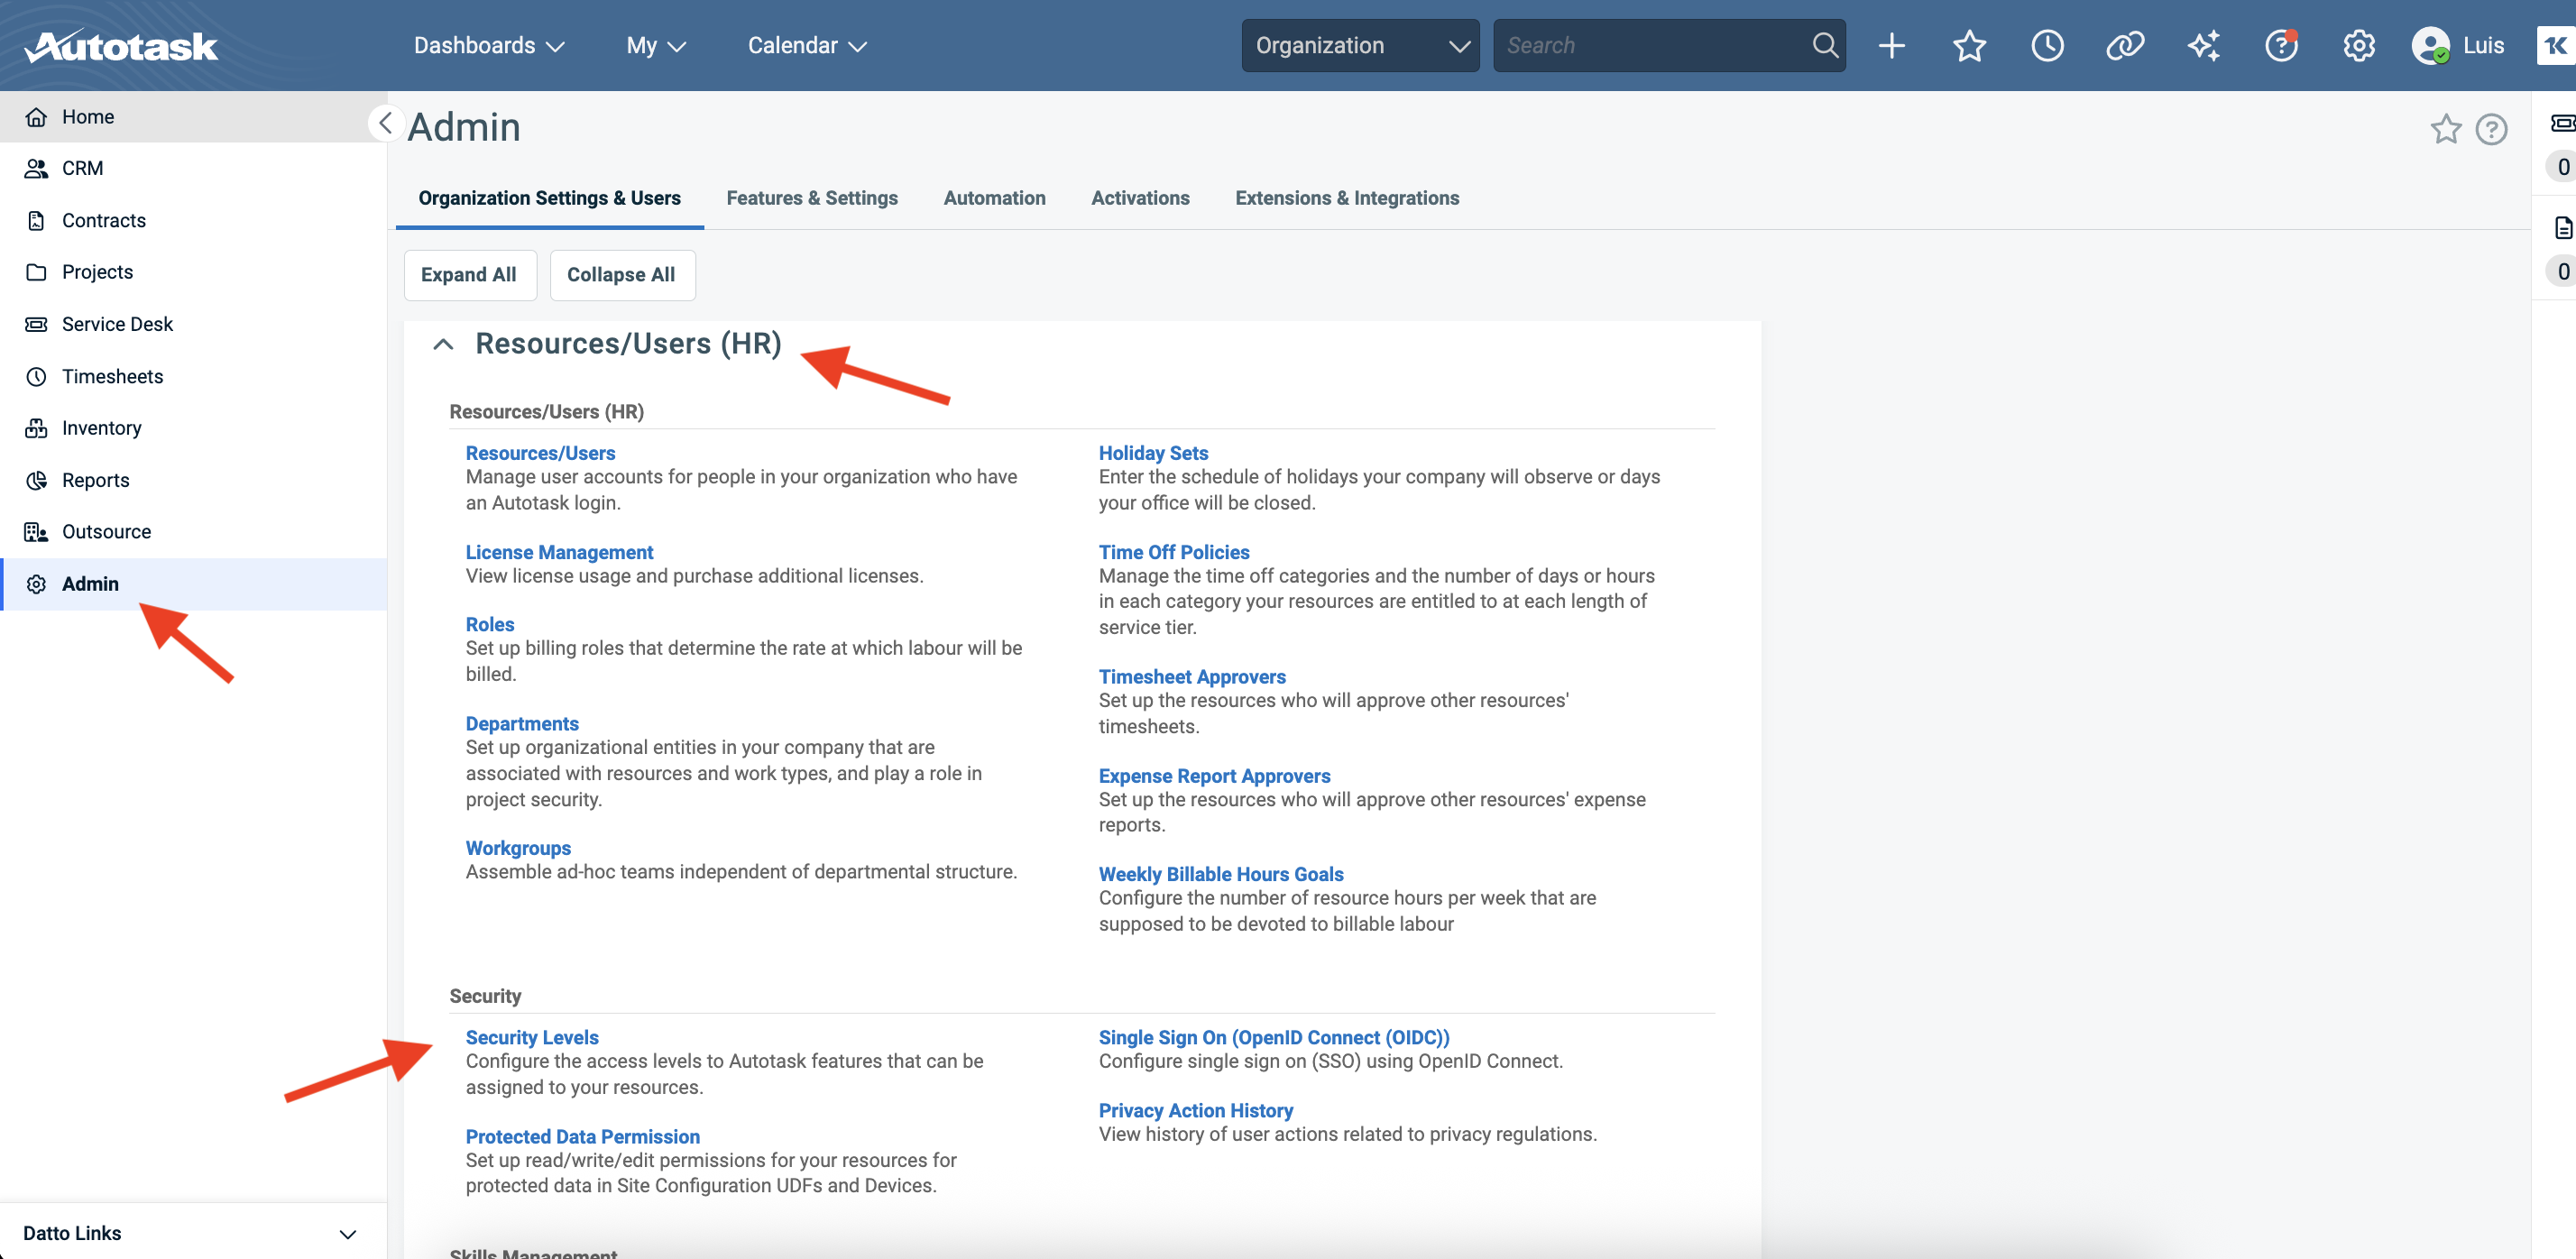
Go to Admin → Organization Settings & Users → Resources/Users (HR) → Security Levels and click to create a new security level.
Navigate to Admin → Organization Settings & Users, then find Security Levels under Resources/Users (HR)
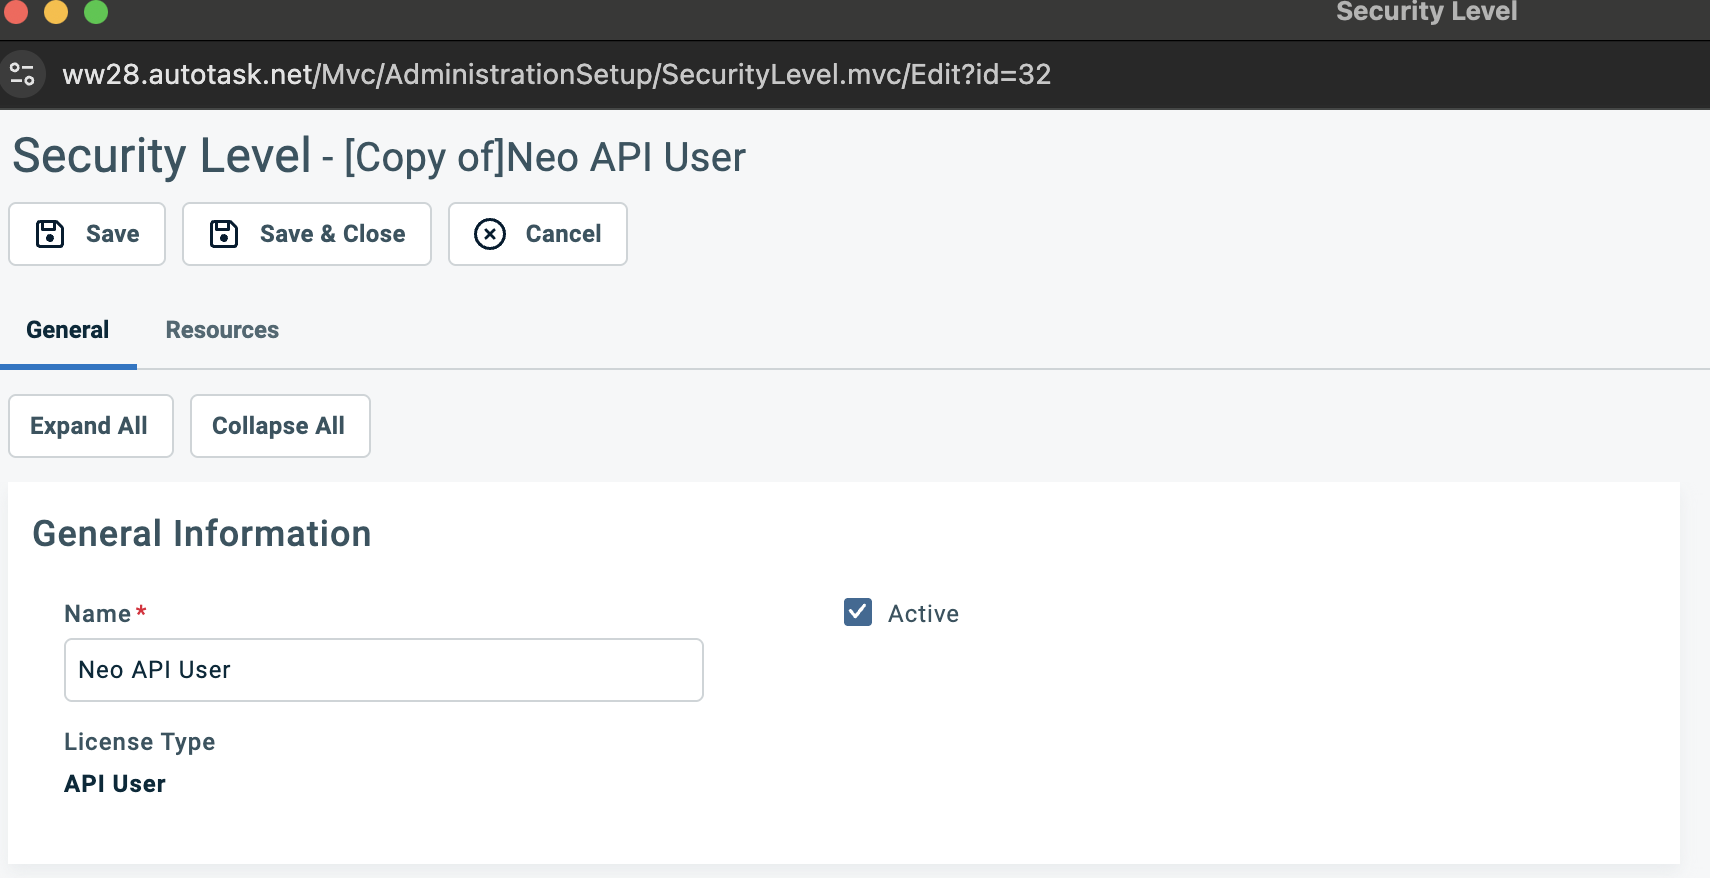
Autotask has a default API User (system) role that you can copy to create a new security level. This provides a good starting point with basic API permissions already configured.
2
Name the security level
Name the new security level “Neo API User” or similar to clearly identify it as the dedicated role for Neo Agent. Set the License Type to API User.
Name the security level 'Neo API User' with License Type set to API User
3
Grant read access across all sections
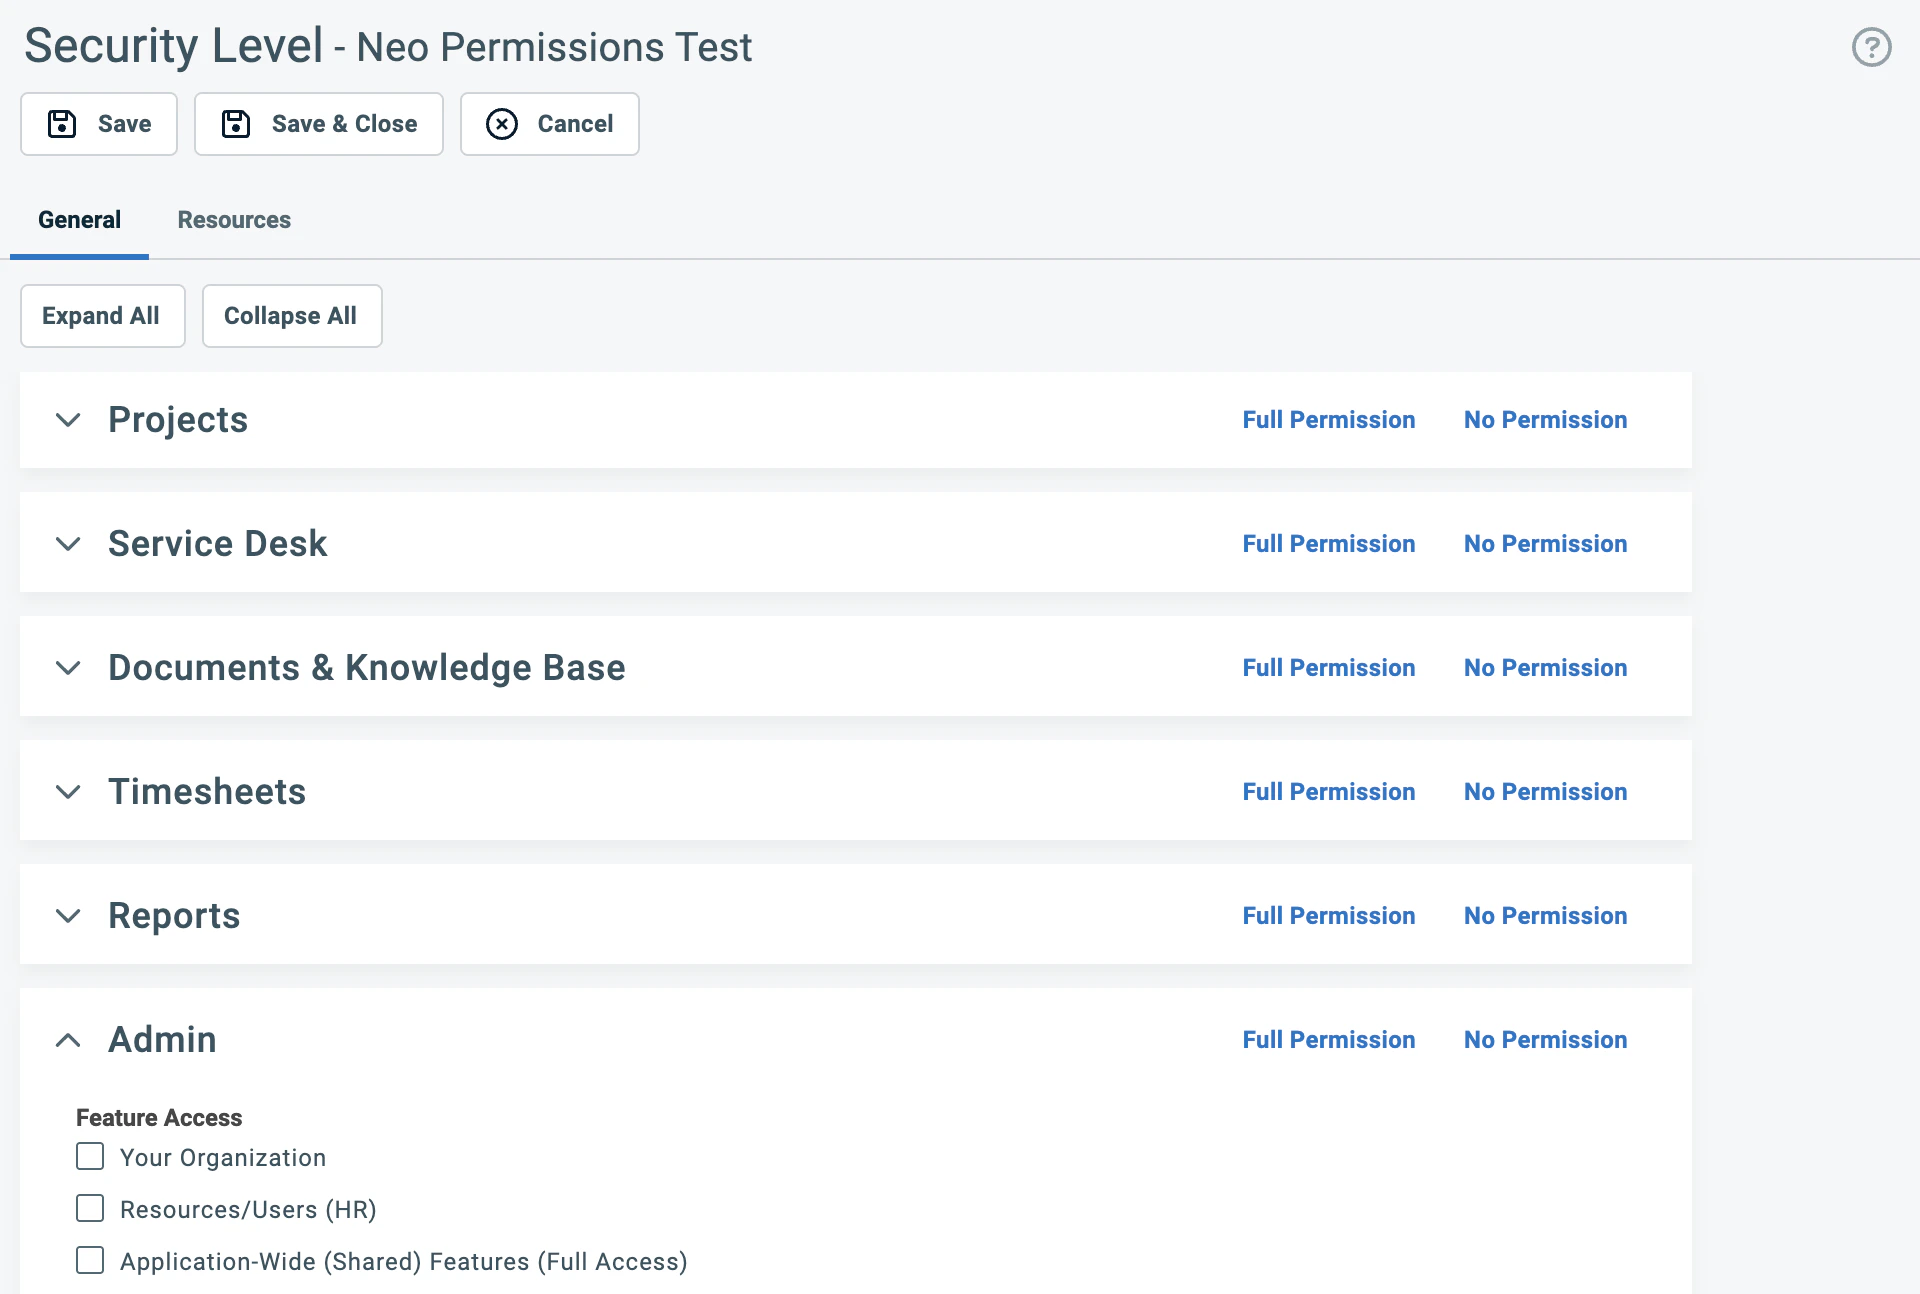
Scroll down past the General Information and Feature/Section Access to find the permission sections. Each section is collapsible and has a “Full Permission” link in the top-right corner.
The permission sections — each has a 'Full Permission' link on the right
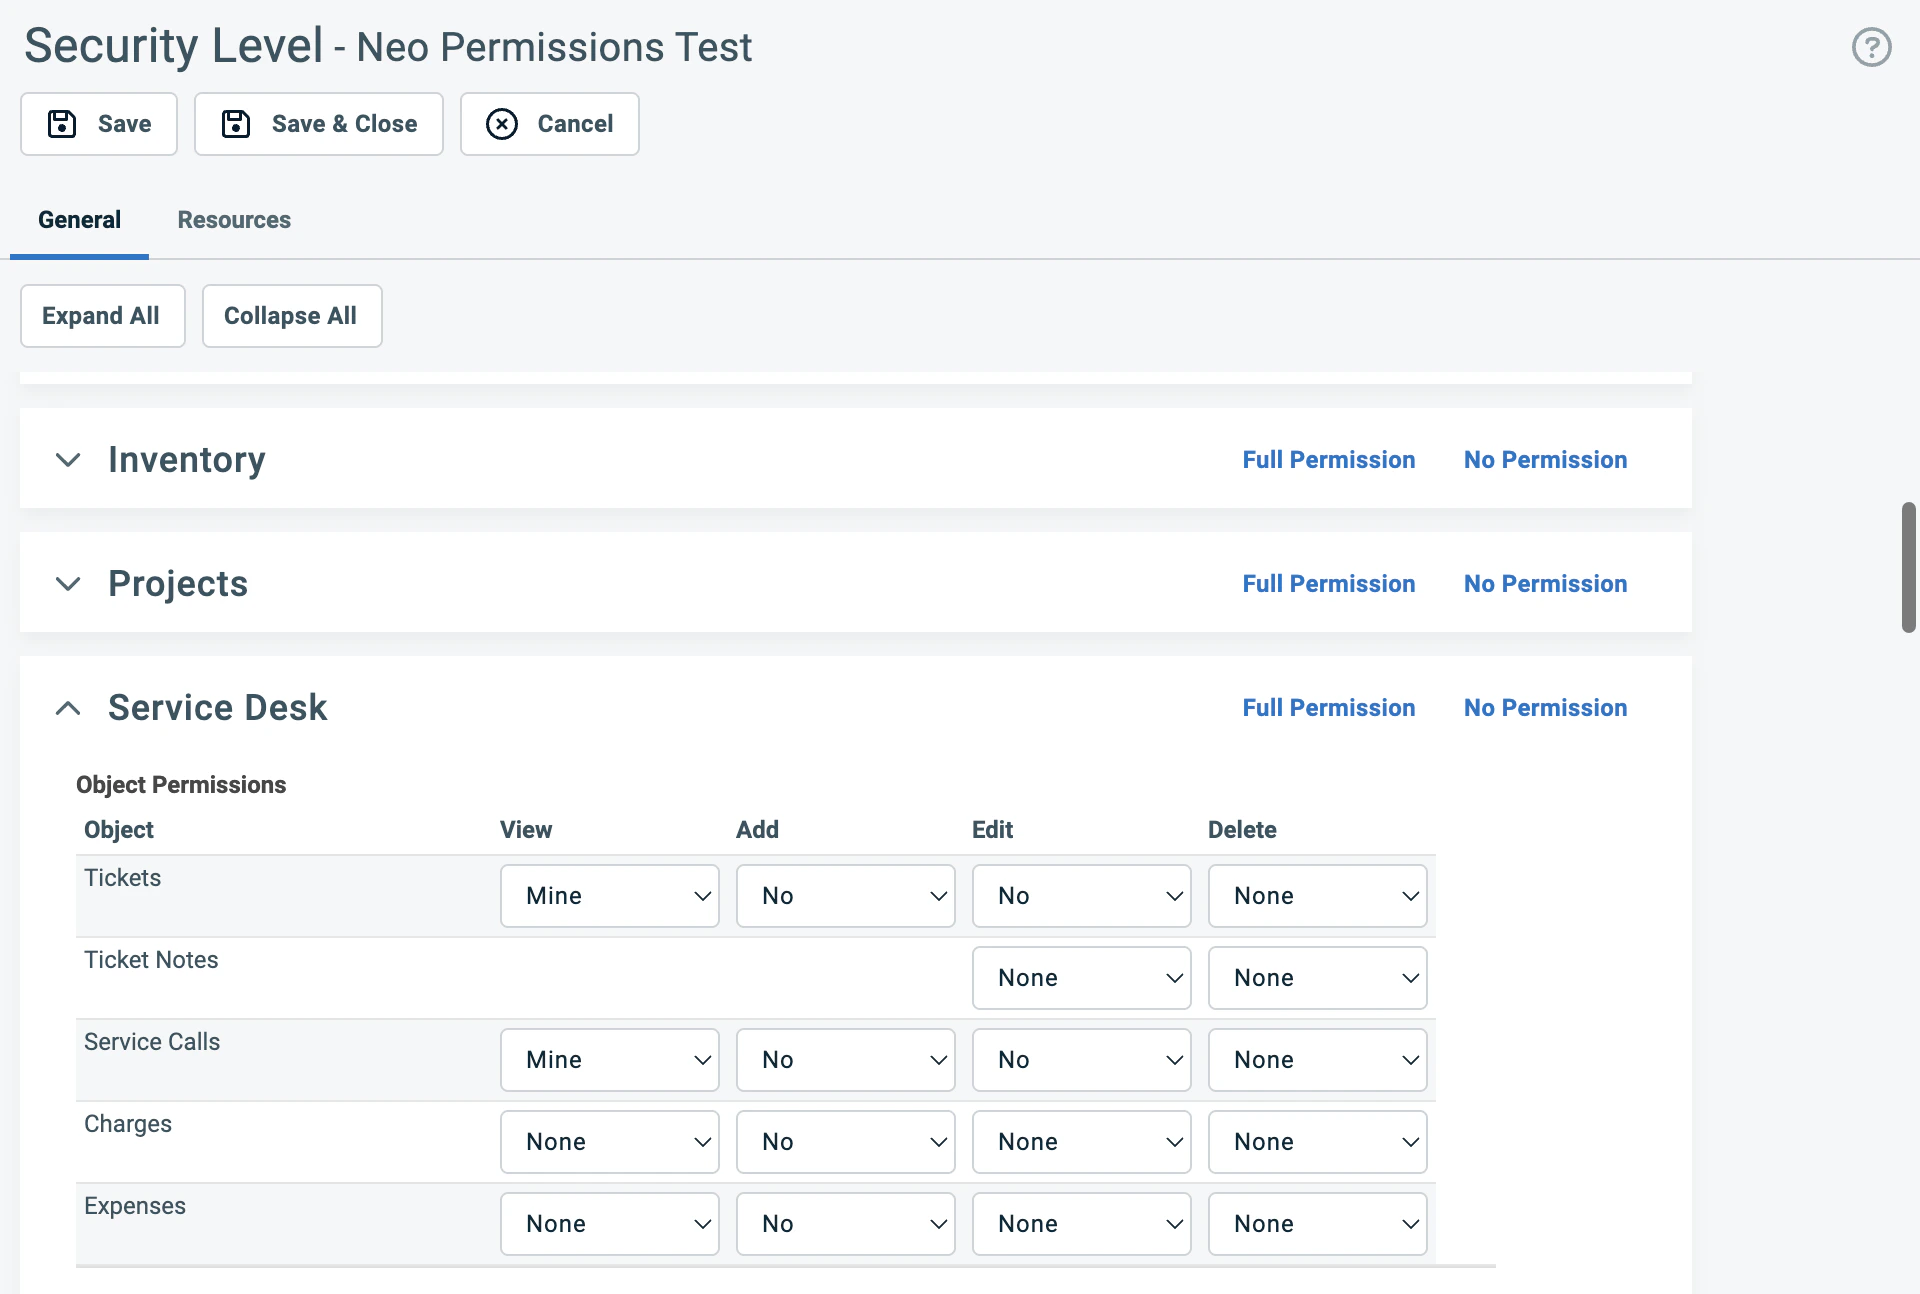
Neo Agent needs read access across all sections to provide accurate context when resolving tickets — looking up company details, checking SLA coverage, reviewing contracts, finding related configurations, and referencing system metadata. Read-only access is safe and helps Neo make better decisions.For every section listed below, expand it and set View permissions to All for all objects:
Section
What it covers
Contracts
Contracts, Services, Service Bundles, Billing Codes, Milestones
Tickets, Ticket Notes, Service Calls, Charges, Expenses
Documents & Knowledge Base
Knowledge Base Articles, Documents, Article Notes
Timesheets
Time Entries and time-related settings
Reports
Standard report access across all categories
For Reports, clicking “Full Permission” is fine — report permissions are read-only by nature.
4
Grant write access (Add and Edit)
Click “Full Permission” on the following sections where Neo Agent needs to create and update records. These are the core areas Neo uses to resolve tickets, manage time, and handle day-to-day operations.
Click 'Full Permission' to enable all permissions in a section at once
Click “Full Permission”. Neo Agent needs full access to tickets, notes, service calls, time entry permissions, checklist permissions, and related settings.
Click “Full Permission”. Neo Agent creates time entries when performing work on tickets.
Scroll through each section completely. Some sections have multiple sub-sections with additional checkboxes below the main permission grid (e.g., Service Desk has Time Entry Permissions, Ticket Checklist Permissions, Board Permissions, and Other Permissions further down). Clicking “Full Permission” should enable everything, but scroll down to verify.
5
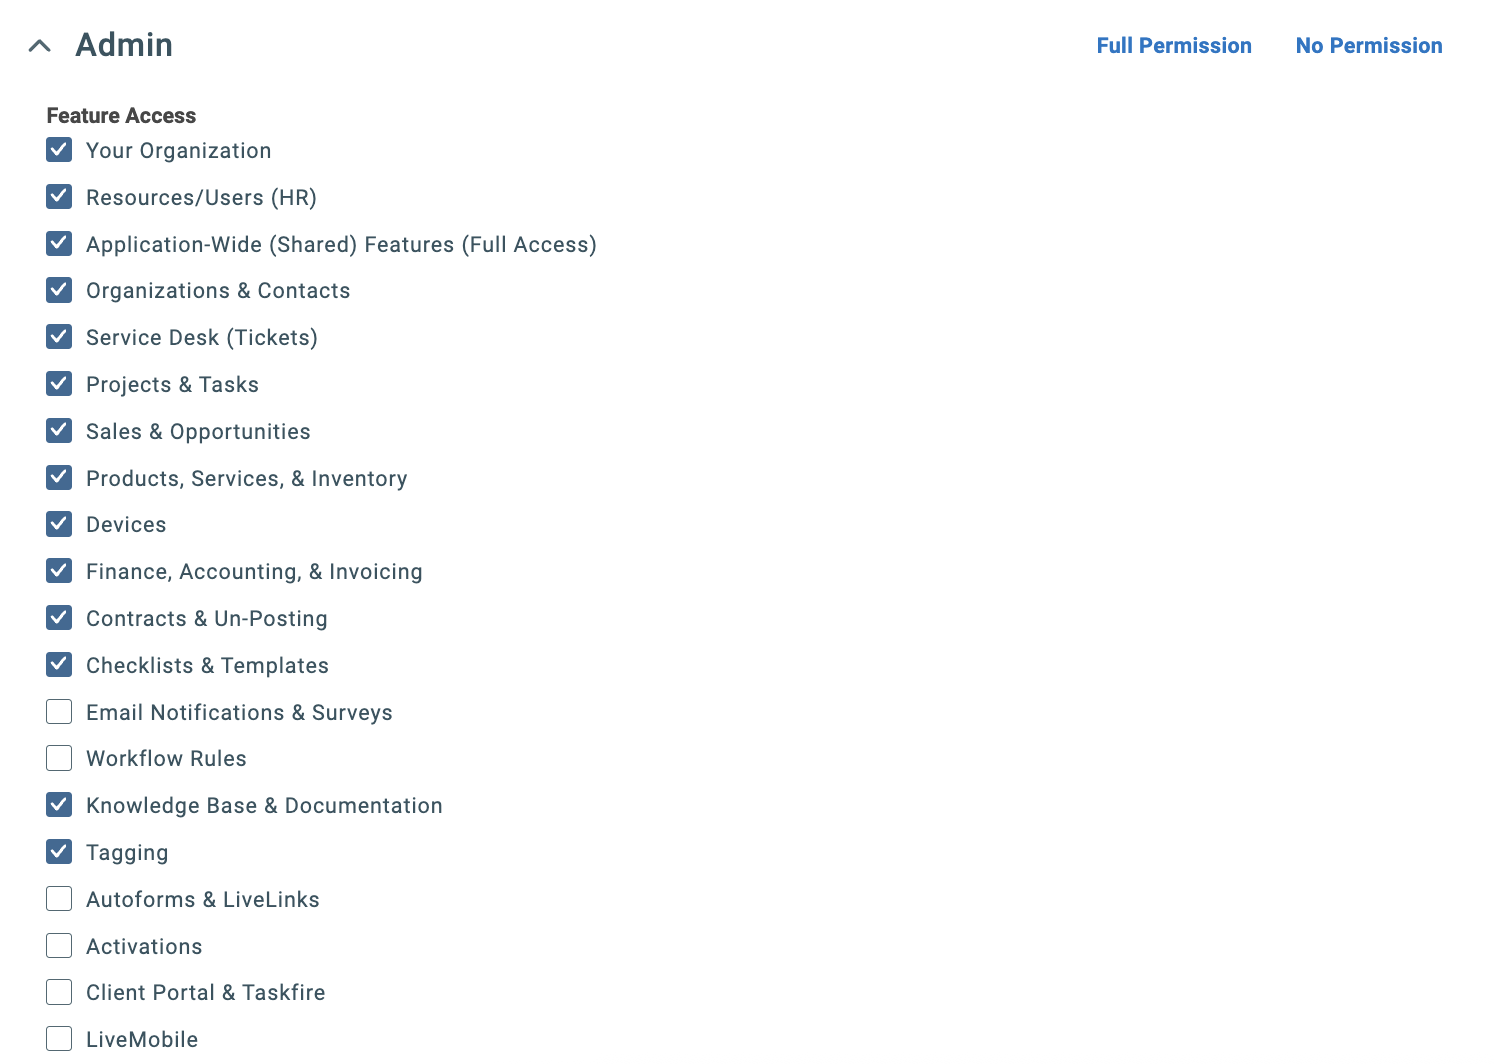
Configure Admin section
The Admin section uses checkboxes for each feature access category. Click “Full Permission” to check all categories — Neo Agent reads admin metadata (UDF definitions, SLA configurations, entity info) to resolve tickets accurately.
The Admin section uses checkboxes — click 'Full Permission' to check all at once
6
Configure Other section and enable webhooks
The Other section contains dashboard permissions, survey settings, resource visibility, form templates, and webhooks. Click “Full Permission” to enable all settings.Then verify these webhook settings within the Other section:
Can create Webhooks: Checked
Maximum number of Webhooks: Set to 5
The Webhooks settings are within the Other section
Webhooks allow Neo Agent to receive real-time notifications when tickets are created or updated in Autotask, enabling faster response times and more efficient automation.
7
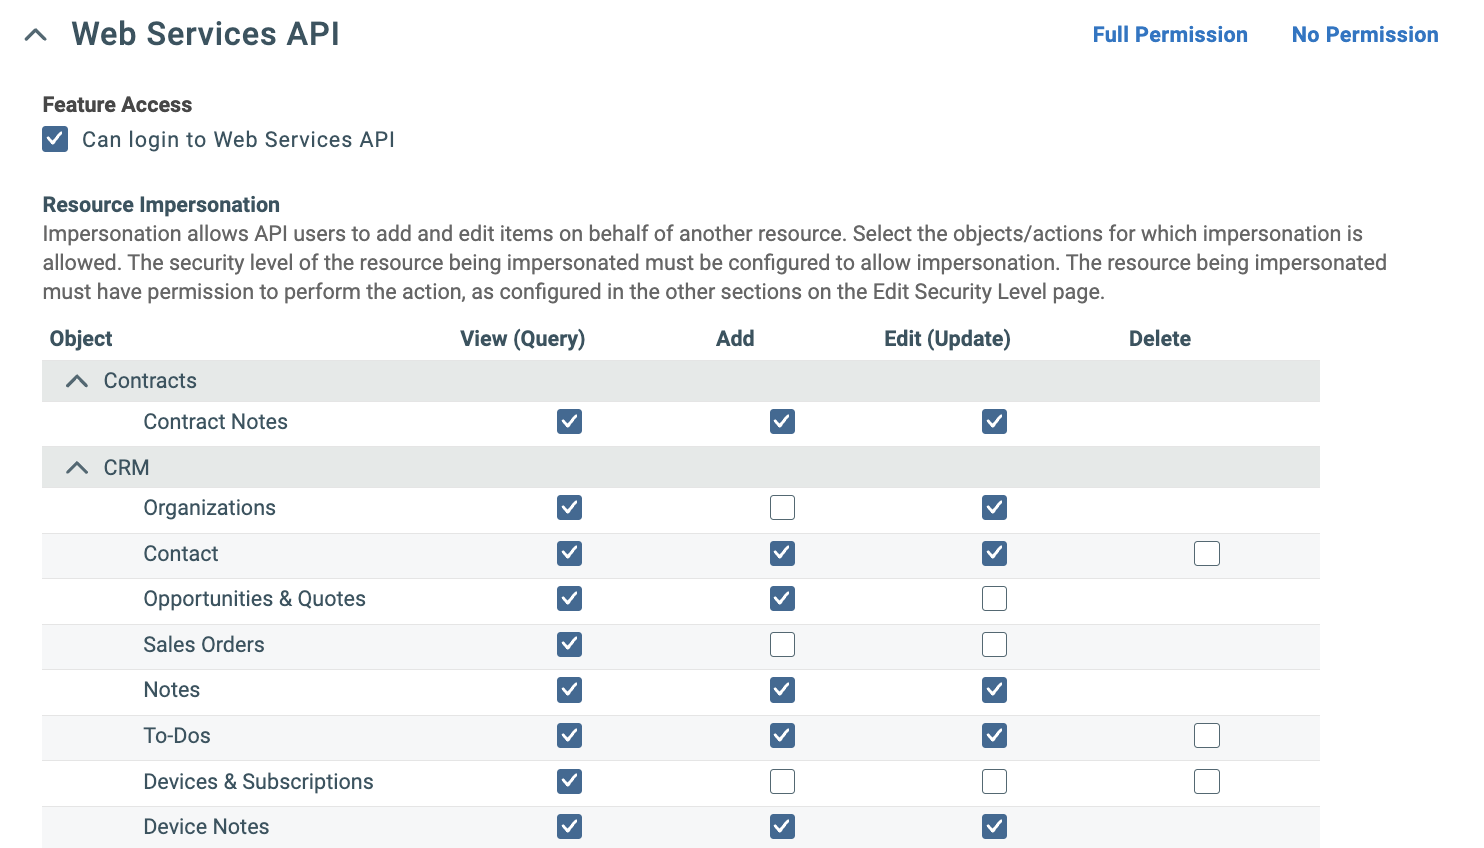
Configure Web Services API section
The Web Services API section has three parts — work through each one.1. Feature Access (top):
Check Can login to Web Services API (usually enabled by default if you copied from API User)
2. Resource Impersonation (middle):
Click “Full Permission” to check all boxes, or verify every row has View, Add, and Edit checked across all categories:
Resource Impersonation — check View, Add, and Edit for every object, or click 'Full Permission'
Resource impersonation allows Neo Agent to perform actions as if they were done by specific technicians, maintaining proper attribution and audit trails in Autotask.
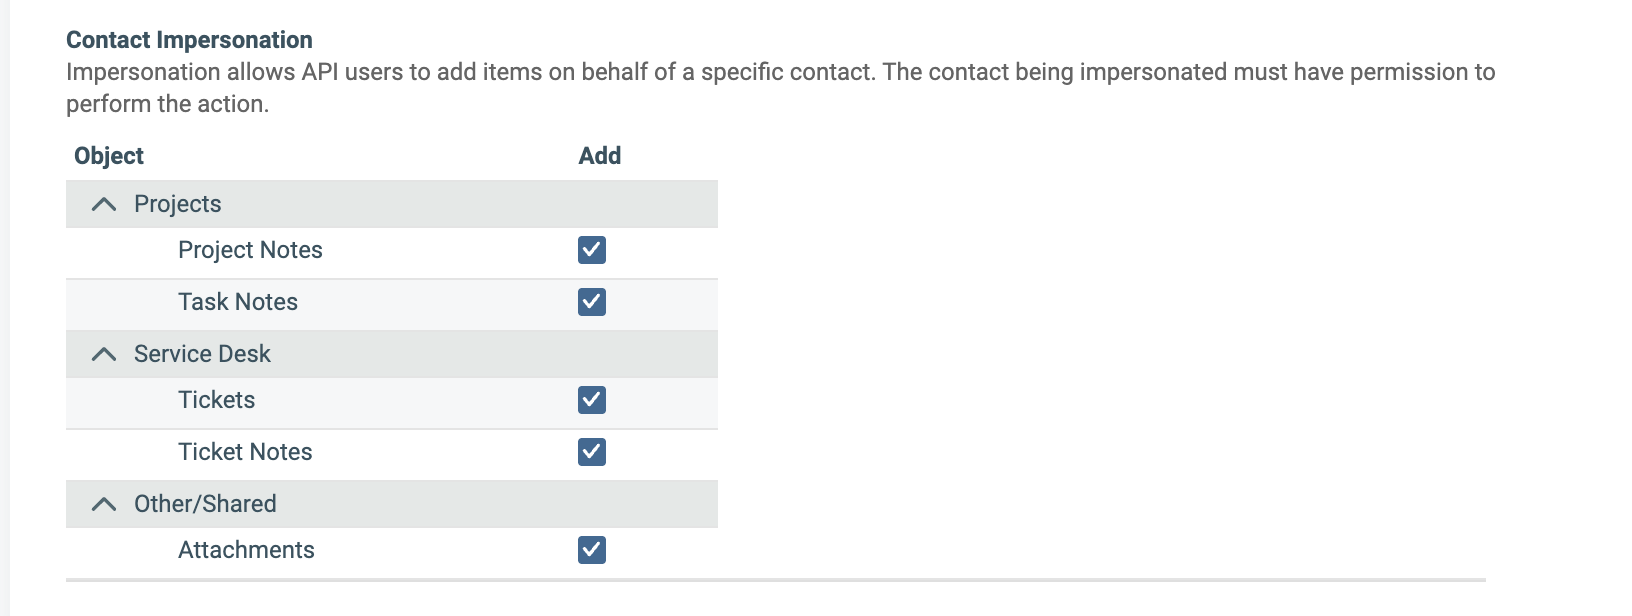
3. Contact Impersonation (bottom):
Check the Add checkbox for all items listed:
Category
Objects
Projects
Project Notes, Task Notes
Service Desk
Tickets, Ticket Notes
Other/Shared
Attachments
Contact Impersonation — check Add for all items
Contact impersonation allows Neo Agent to create ticket notes attributed to end-user contacts (e.g., when a customer submits an update through Neo Pulse). This triggers Autotask’s “Customer note added” workflow events, ensuring technicians receive proper notifications about customer updates.
8
Save the security level
Click Save or Save & Close at the top of the page.
Your Neo API User security level is now configured with all necessary permissions for Neo Agent to function properly within your Autotask environment.
Sensitive areas — safe to leave at read-only. The following permissions are enabled by “Full Permission” but Neo Agent does not need write access to them. If your security policy requires tighter controls, you can revert these to read-only after clicking “Full Permission”:
Contracts: Invoice creation (“Can create invoices”), billing approval (“Can Approve & Post”), invoice access (“Can Invoice”) — Neo reads contract data but never creates invoices
CRM: Contact redaction (“Can erase (redact) Contacts”) — Neo manages contacts but should never permanently erase them
Inventory: Purchase order approval, receiving/shipping items — Neo reads product data for ticket charges but doesn’t manage physical inventory
Admin: Security levels, workflow rules, and user management — Neo reads system metadata but should never modify admin settings
You can grant write access to these areas later if needed — for example, if you want Neo to manage inventory or create invoices.