This process involves creating a custom security role called “Neo”, configuring permissions across ConnectWise modules, and setting up API member credentials.
How Neo Agent Permissions Work
Neo Agent uses two layers of access control to keep your ConnectWise data safe:- ConnectWise Security Role (what you configure here) — sets the maximum API access available, just like setting up any technician account.
- Neo Agent Dashboard — where you choose exactly what Neo can do. You configure permission groups that control which areas Neo can read, write, or ignore — and whether actions require technician approval first.
Creating the Security Role and API Member
1
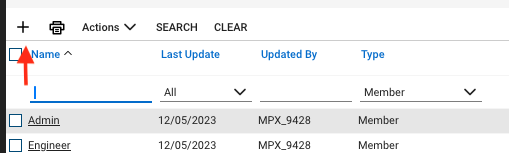
Create a new 'Neo' security role
In ConnectWise, navigate to System → Security Roles and create a new security role for Neo Agent.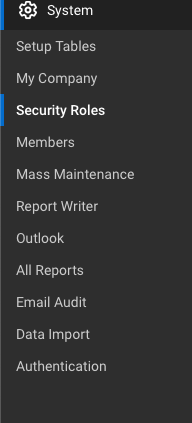
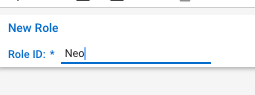
Neo and save the role.2
Grant read access (Inquire Level)
Set Inquire Level to All for all entries in every module listed below. This gives Neo Agent the ability to look up information across your ConnectWise system — read access alone does not allow any modifications.
Neo Agent needs broad read access to provide accurate context when resolving tickets — looking up company details, checking SLA coverage, finding related configurations, reviewing agreements, and referencing system metadata. Read-only access is safe and helps Neo make better decisions.
3
4
Grant delete access for schedule entries
Delete permissions are only needed for one specific entry:
This allows Neo Agent to manage schedule entries (e.g., rescheduling or removing technician appointments). No other delete permissions are required.
5
Create API member and generate keys
Create the API Member using your newly configured security role:
- Navigate to System → Members → API Members
-
Create a new API member with the following settings:
- Security Role: Select the “Neo” role you created
- Email: Set to
team@neoagent.io - Member ID: Use a descriptive identifier like
neo_agent
-
Generate API credentials:
- Create API Keys with a description like “Neo-API”
- You’ll receive both Public and Private keys
Make note of the following information as you’ll need it for the connection setup:
- API Member identifier (text-based Member ID, e.g.,
neo_agent) - Public Key (acts as username)
- Private Key (acts as password)
6
Create a regular member for time entries (optional, recommended)
ConnectWise does not allow API-only members to create time entries — even when the security role grants Time & Expense access. Time entries must be owned by a regular (non-API) member. So if you want Neo to log its own time on tickets, create a second member for Neo of the regular type:
- Navigate to System → Members (the regular Members list, not API Members).
- Create a new member — e.g. Member ID
neo_agent_member— and assign it the Neo security role you created above (it already includes Time & Expense → Time Entry). - Make note of this member’s Member ID.
If you skip this step, everything else works — Neo just can’t write time entries, and any attempt will surface an “API member does not have access to the Time module” action-required notice in your inbox.
What’s Next?
Once you’ve successfully created the API member with proper permissions, you’re ready to connect it to Neo Agent using the credentials and configuration details from your new API member.Before proceeding, ensure you have:
- The API Member identifier (Member ID)
- The Public Key (username)
- The Private Key (password)
- Your ConnectWise PSA URL
- Your exact company name from the ConnectWise login screen
- (Optional) The regular (non-API) Member ID, if you want Neo to log time entries